 Documentation
Installing Home Assistant on a Wiren Board controller
Description
Home Assistant is an open-source automation platform developed and maintained by the home-assistant.io community. Its mobile app can control the system over the local network or through the platform’s cloud service.
Install it on a Wiren Board controller to control connected devices instead of using the standard web interface.
Compatibility
Wiren Board 8/8M and newer controllers are recommended. Home Assistant support for Wiren Board 6 and 7 (armhf) ended in late 2025; these models no longer receive updates. See the developers’ announcement.
Installation
The controller’s flash storage is partitioned. A separate user partition is mounted at /mnt/data. If the root partition has been expanded to occupy almost all of the eMMC, /mnt/data is an ordinary directory on the root partition. Take this into account when installing software or updating controller firmware.
Copy commands into the controller console with Shift+Insert and run them with Enter. Before running a command, make sure you understand its purpose and the changes it will make. Read error output carefully for instructions and hints.
Use nano to edit configuration files. If third-party software needs more space, the root partition can be expanded to almost the full eMMC capacity.
This guide uses the developer-recommended Home Assistant Container installation method. It has no Supervisor, so add-ons cannot be installed from the Home Assistant web interface. Add-ons usually package third-party software such as zigbee2mqtt, ESPHome or Node-RED; you can install that software separately in containers.
- Install Docker using the Docker installation guide.
- Create the installation directory and enter it:
mkdir -p /mnt/data/.docker-compose/home-assistant
cd /mnt/data/.docker-compose/home-assistant
- Create the configuration and media directories:
mkdir -p config/home-assistant
mkdir -p store/media
- Open docker-compose.yaml in the editor:
nano docker-compose.yaml
- Paste the following configuration for Wiren Board 8:
services:
  # HomeAssistant
  homeassistant:
    container_name: home-assistant
    image: homeassistant/home-assistant:latest

    volumes:
      # Local path where your home assistant config will be stored
      - ./config/home-assistant:/config
      - ./store/media:/media
      - /etc/localtime:/etc/localtime:ro
      - /run/dbus:/run/dbus:ro # <-- Bluetooth adapter
    restart: unless-stopped
    network_mode: host
    environment:
      TZ: "${MYTZ}"
    privileged: true
    labels:
      - "com.centurylinklabs.watchtower.monitor-only=true"
For Wiren Board 6 and 7, use this configuration instead:
services: # HomeAssistant homeassistant: container_name: home-assistant image: ghcr.io/home-assistant/armhf-homeassistant:latest volumes: # Local path where your home assistant config will be stored - ./config/home-assistant:/config - ./store/media:/media - /etc/localtime:/etc/localtime:ro - /run/dbus:/run/dbus:ro # <-- Bluetooth adapter restart: unless-stopped network_mode: host environment: TZ: "${MYTZ}" privileged: true labels: - "com.centurylinklabs.watchtower.monitor-only=true" - Save with Ctrl+S and close with Ctrl+X.
- Set your time zone in the .env file. Choose one of the examples below, or use another valid Linux time zone:
UTC (Coordinated Universal Time):
echo "MYTZ=UTC" >> .env
Central Europe (CEST/CET):
echo "MYTZ=Europe/Berlin" >> .env
Moscow (MSK):
echo "MYTZ=Europe/Moscow" >> .env
List all available Linux time zones:
timedatectl list-timezones
- Start the container in the background:
docker compose up -d
After the container starts, open the controller’s IP address on port 8123 in a browser, for example http://192.168.42.1:8123. You can now close the console.
Updating
Connect the controller to the internet, then download the updated image and recreate the container:
cd /mnt/data/.docker-compose/home-assistant
docker compose pull homeassistant  # Update the image
docker compose up -d homeassistant  # Recreate the container
All settings are retained when the container is recreated because the configuration is stored in the config directory.
Working with Wiren Board devices
Installing the Wiren Board integration
The Wiren Board custom integration creates Home Assistant entities from device MQTT topics automatically. The current integration requires Home Assistant 2025.6 or newer.
- Copy the wirenboard folder from the repository into
/mnt/data/.docker-compose/home-assistant/config/home-assistant/custom_components/. - Open the Home Assistant web interface.
- Restart Home Assistant using Developer Tools → Restart.
- Open Settings → Devices & Services → Add Integration and select wirenboard.
- The Host and Port fields contain the default controller connection settings. Change them only if necessary.
Installing the MQTT integration
Home Assistant can control Modbus devices over MQTT. Install the MQTT integration, then configure it to receive and send data. The following steps and screenshots use the older Configuration menu; newer versions use Settings.
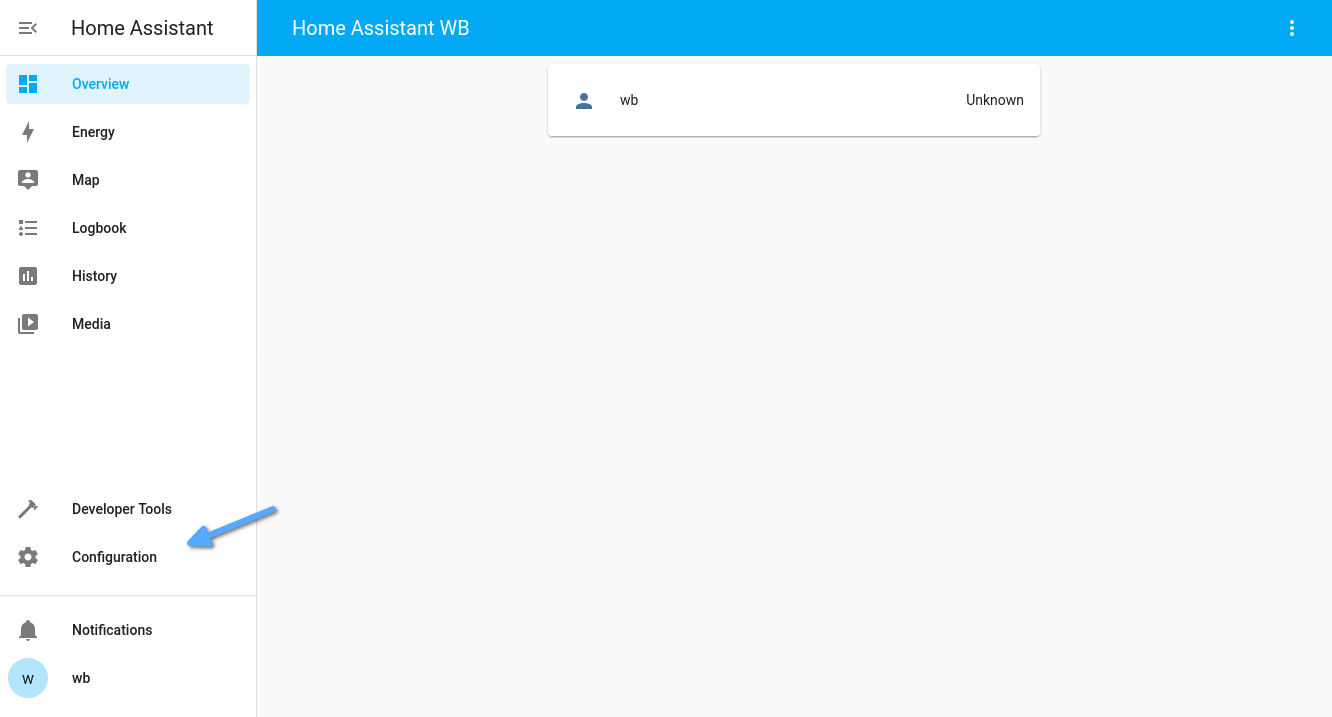
- Open the Home Assistant web interface.
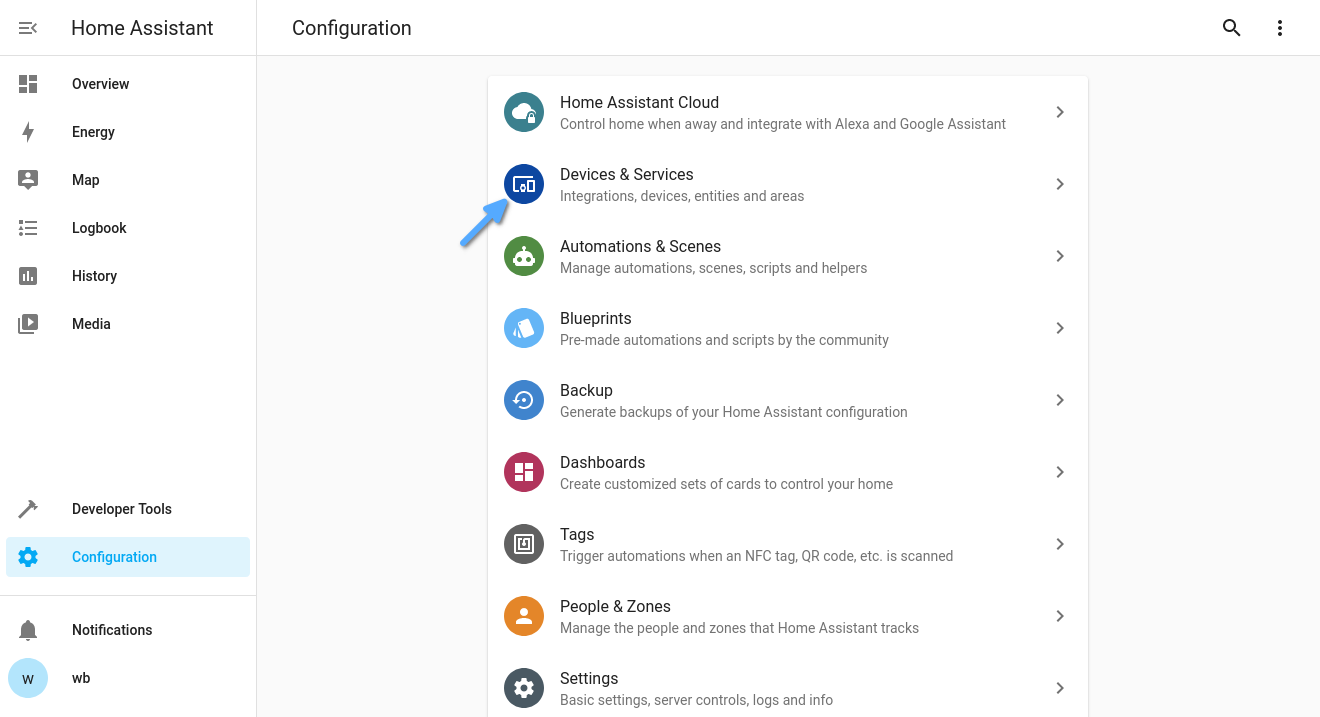
- Select Configuration in the left sidebar, then open Devices & Services.
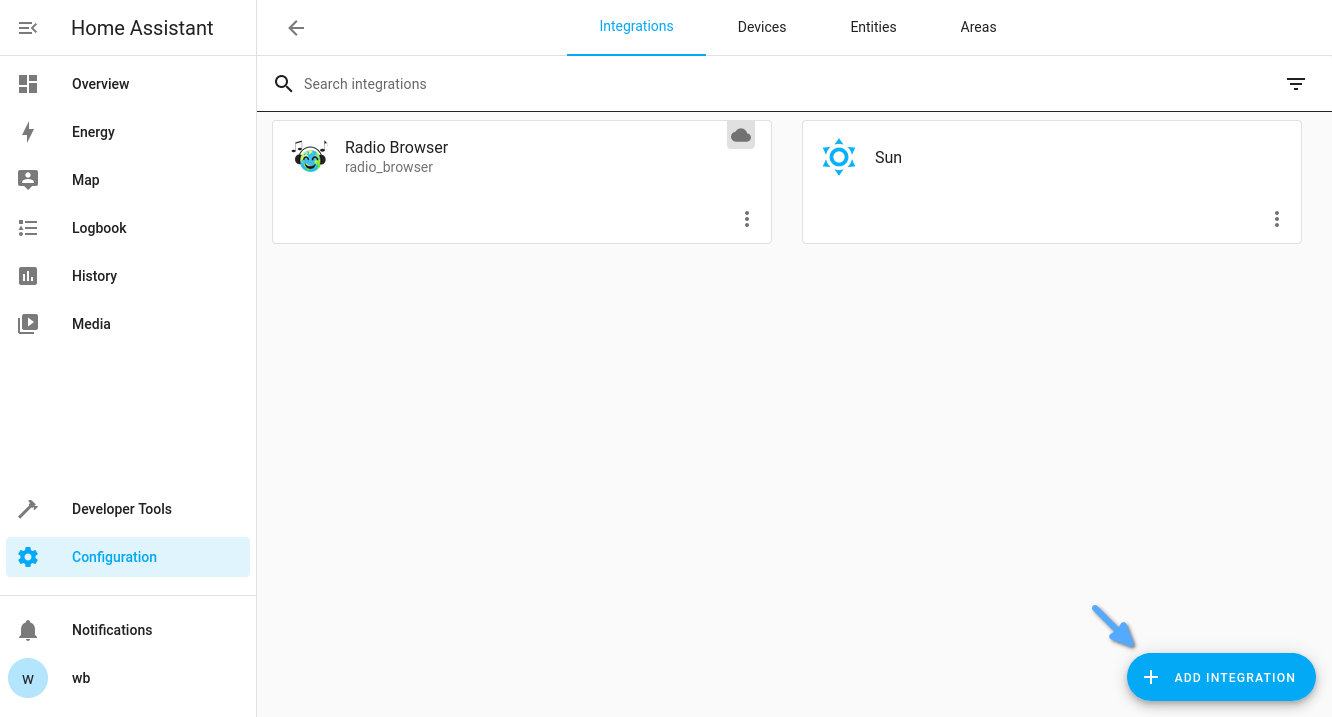
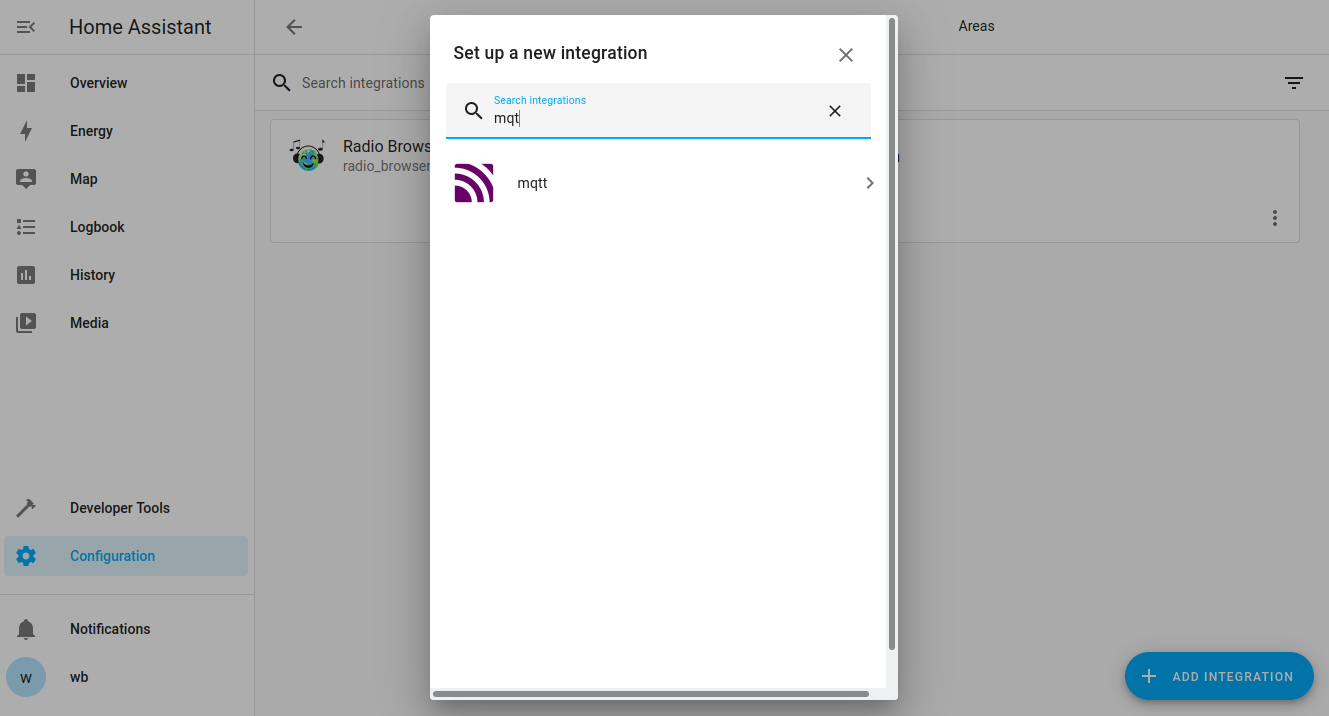
- Click Add Integration at the bottom, search for MQTT and select the integration.
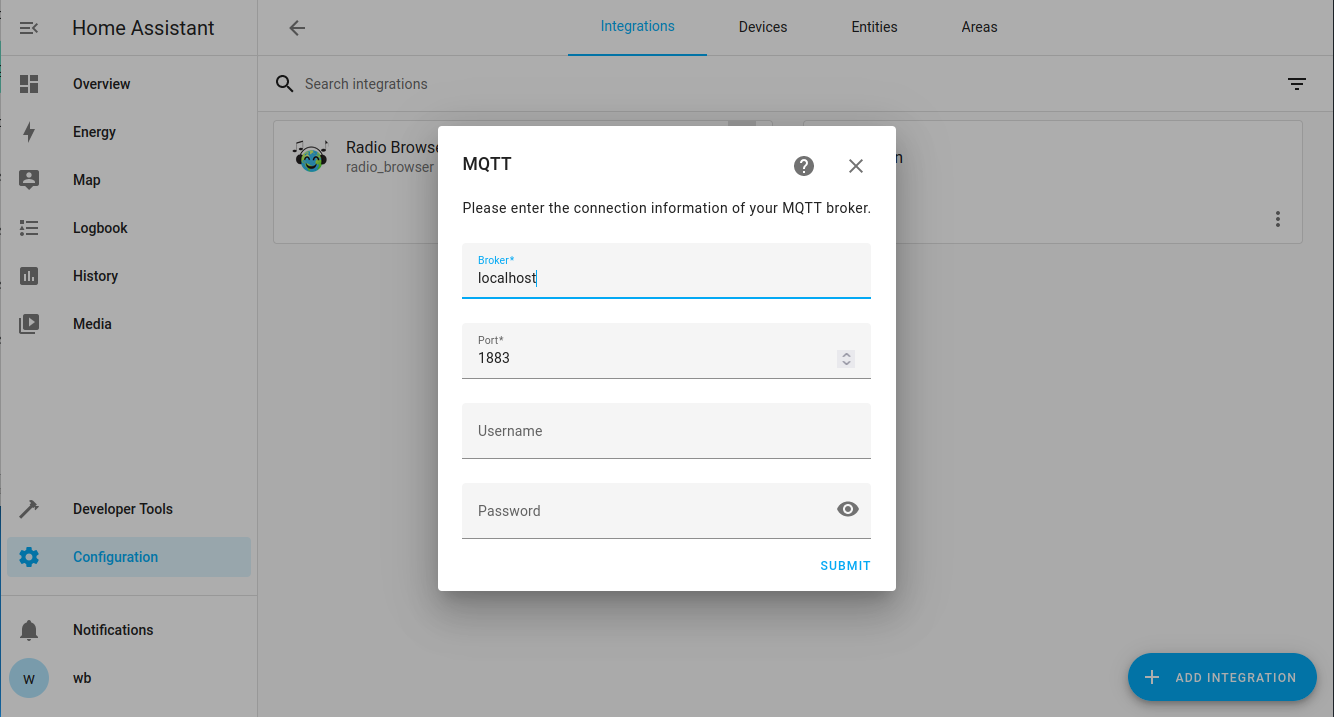
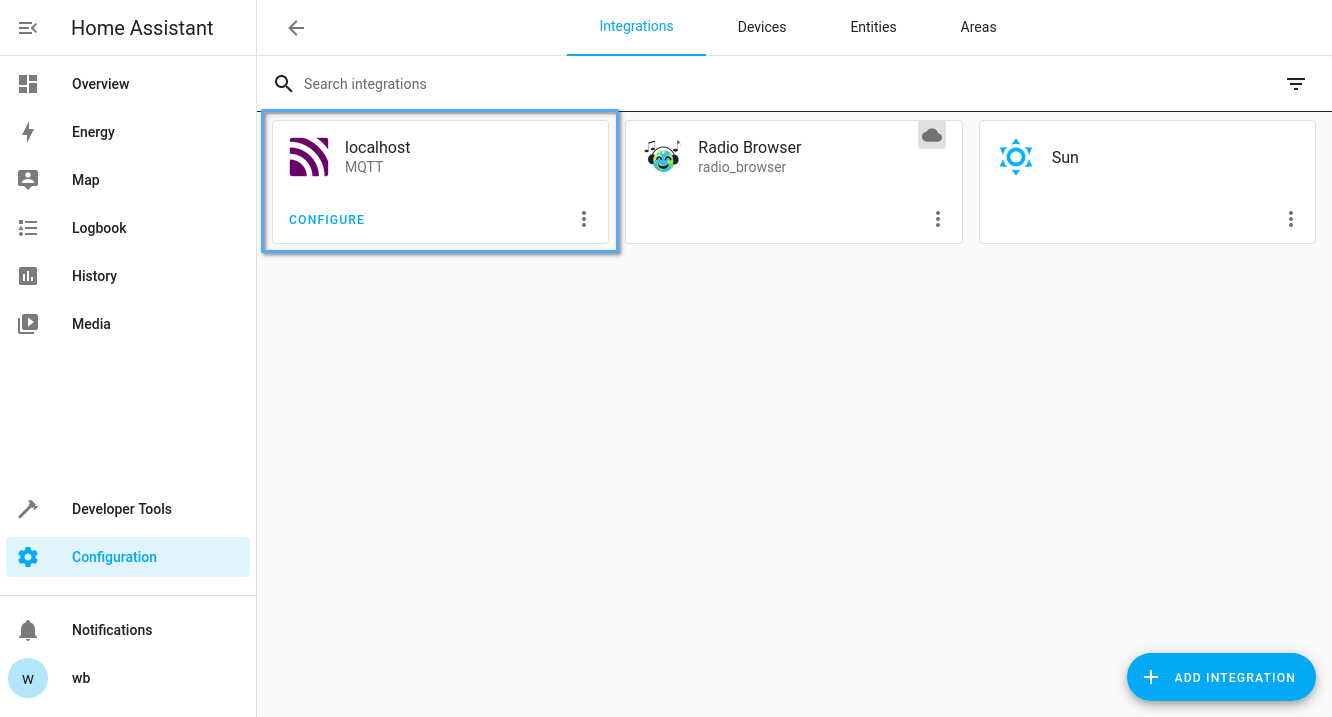
- Wait for the configuration dialog. Set Broker to localhost and Port to 1883. Leave the username and password empty for a controller with the standard configuration. Click Submit.
Configuring devices manually
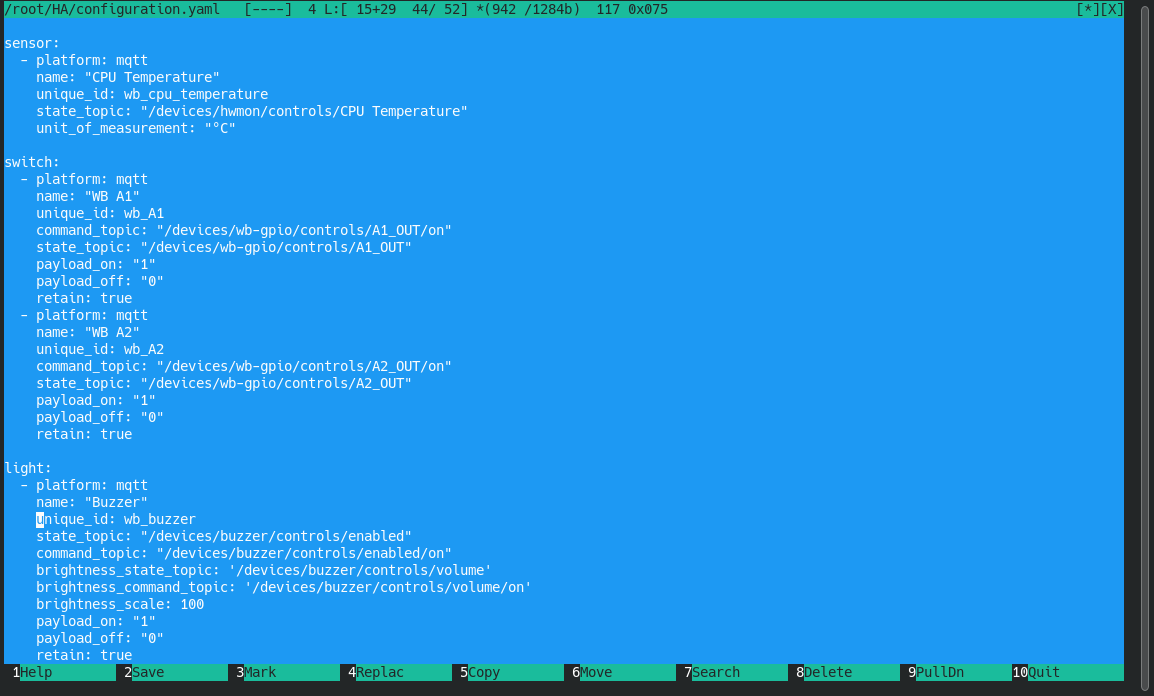
After configuring the integration, describe each device in configuration.yaml. Open the file in the editor:
nano /mnt/data/.docker-compose/home-assistant/config/home-assistant/configuration.yaml
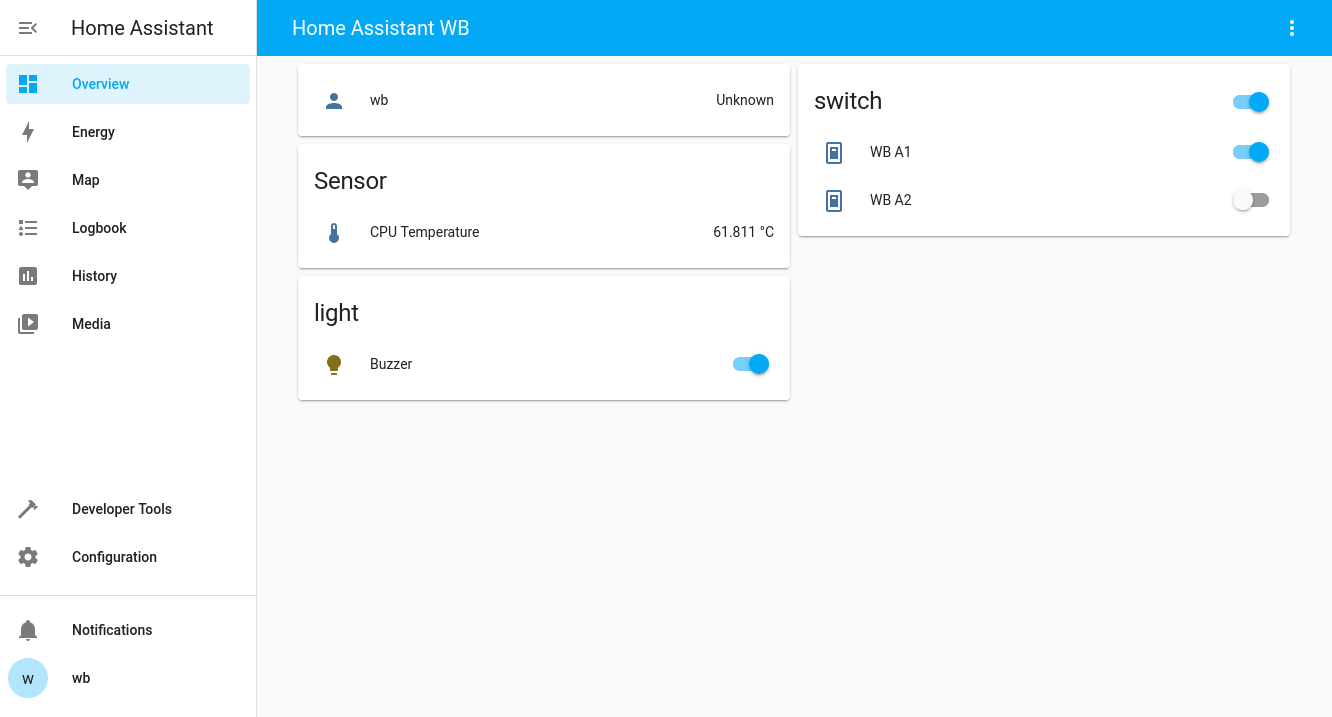
The configuration directory is /mnt/data/.docker-compose/home-assistant/config/home-assistant/. Add sections with each device’s parameters; for example, describe relays in the switch section.
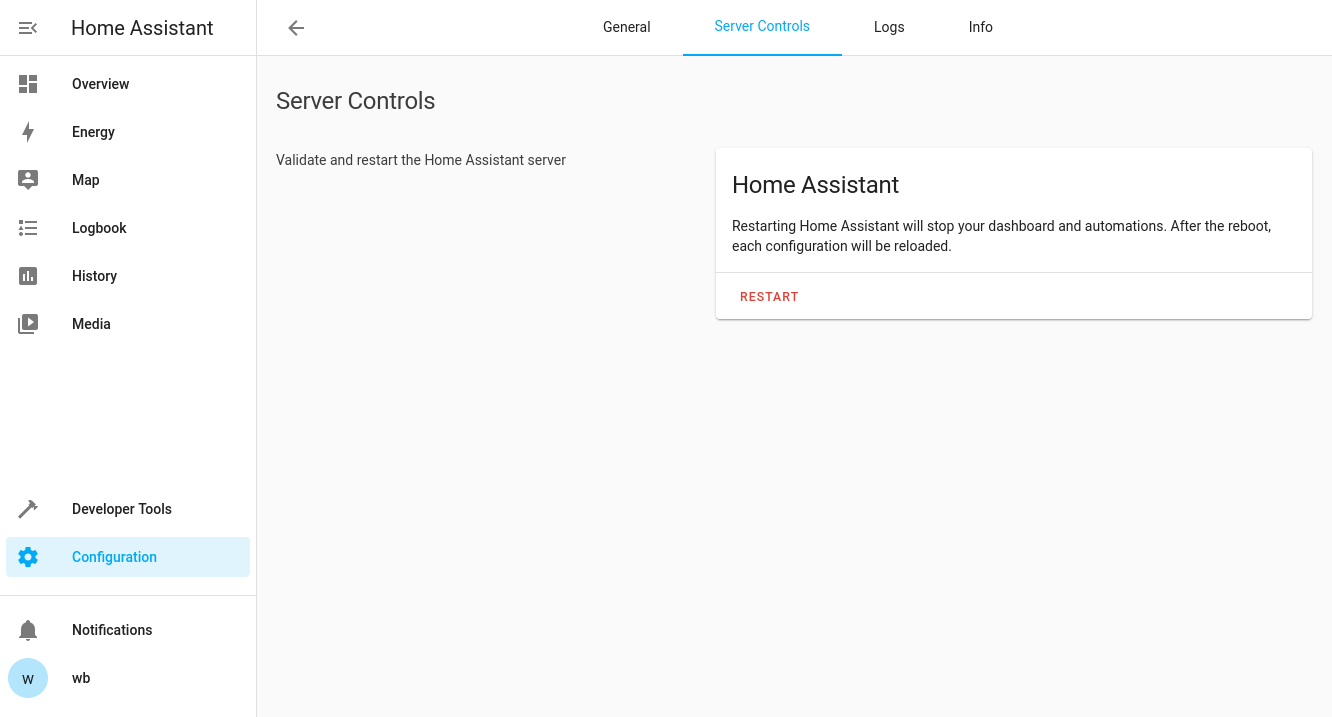
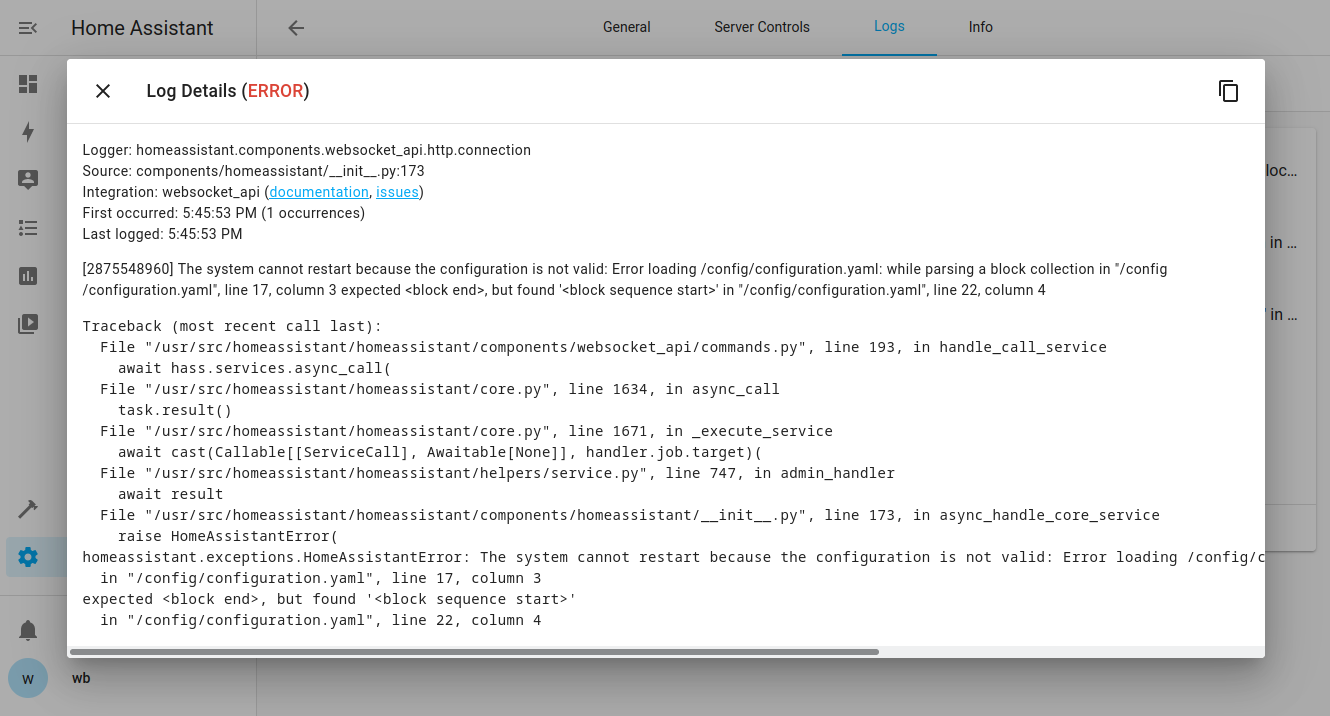
Save the file and restart Home Assistant. In the older interface, open Configuration → Settings and click Restart. The configuration is checked before restarting; errors are reported with details. Incorrect indentation is a common cause because indentation is significant in YAML.
Storage on the controller is limited. Add the following recorder setting to retain 14 days of history. Monitor free disk space; this retention period does not impose a fixed database-size limit.
recorder:
  purge_keep_days: 14
- See MQTT Discovery for the full syntax and supported device types.
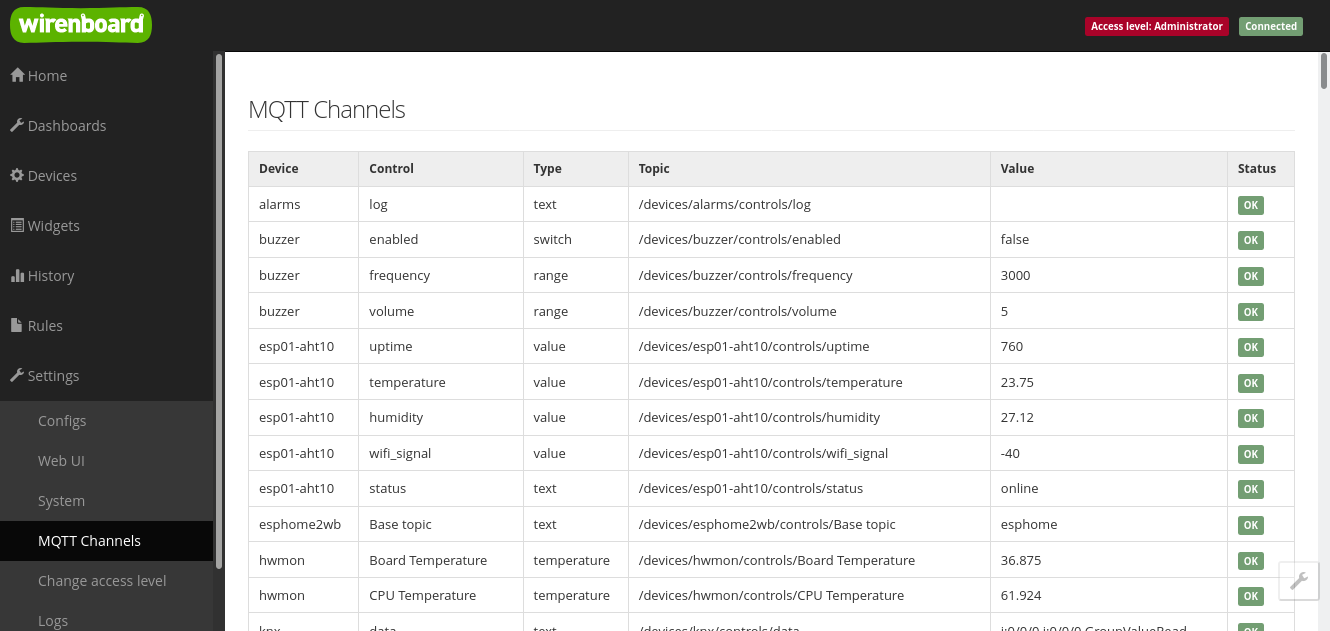
- Find MQTT topic addresses in the controller’s standard web interface under Settings → MQTT Channels.
- Set state_topic to the MQTT topic address. Set command_topic to the same address with /on appended.
- Define sensors under mqtt:, as in the temperature example below. See the Home Assistant MQTT sensor documentation for the format. Put switch and light under that same mqtt: key; do not create duplicate top-level mqtt: keys.
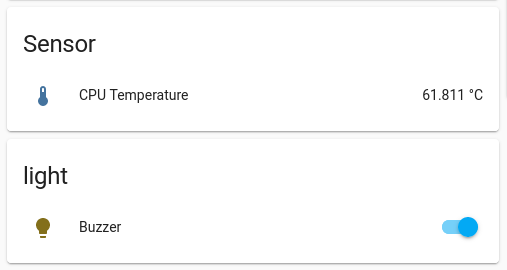
Display the CPU temperature sensor reading:
mqtt:
  sensor:
    - unique_id: wb_cpu_temperature
      name: "CPU Temperature"
      state_topic: "/devices/hwmon/controls/CPU Temperature"
      unit_of_measurement: "°C"
Control outputs A1 and A2. This example can also be used to control relay modules:
#mqtt:
  switch:
    - unique_id: wb_a1_switch
      name: "WB A1 Switch"
      state_topic: "/devices/wb-gpio/controls/A1_OUT"
      command_topic: "/devices/wb-gpio/controls/A1_OUT/on"
      payload_on: "1"
      payload_off: "0"
      retain: true
    - unique_id: wb_a2_switch
      name: "WB A2 Switch"
      state_topic: "/devices/wb-gpio/controls/A2_OUT"
      command_topic: "/devices/wb-gpio/controls/A2_OUT/on"
      payload_on: "1"
      payload_off: "0"
      retain: true
Control the controller’s buzzer. This example can be adapted for an LED lamp dimmer:
#mqtt:
  light:
    - unique_id: wb_buzzer
      name: "Buzzer"
      state_topic: "/devices/buzzer/controls/enabled"
      command_topic: "/devices/buzzer/controls/enabled/on"
      brightness_state_topic: '/devices/buzzer/controls/volume'
      brightness_command_topic: '/devices/buzzer/controls/volume/on'
      brightness_scale: 100
      payload_on: "1"
      payload_off: "0"
      retain: true
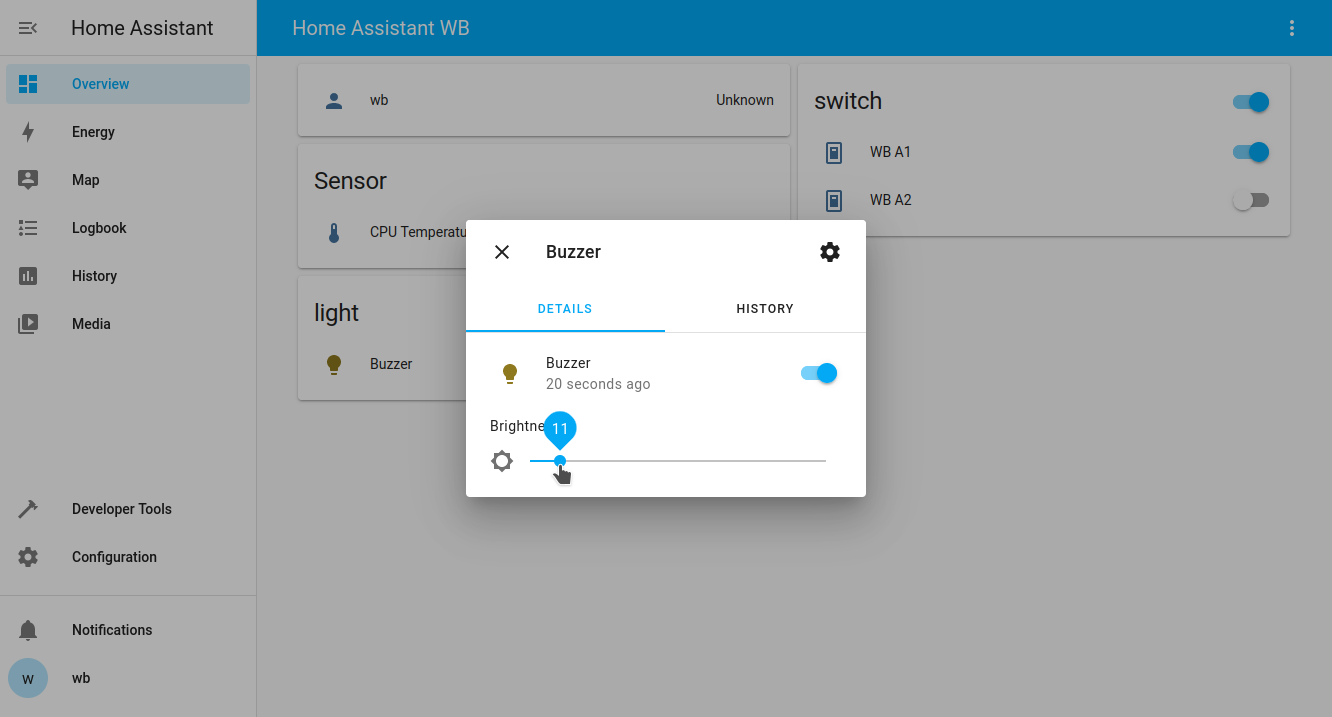
Cloud access
For access outside the local network, add Home Assistant as a service in Wiren Board Cloud. On the controller page, click Services and select Home Assistant from the catalog. Port 8123 is filled in automatically.
Initially, Home Assistant returns 400: Bad Request because it does not trust requests arriving through the cloud proxy. Open Home Assistant locally using the controller’s address and port 8123, then go to Settings → System → Network. The next steps depend on your Home Assistant version.
If the Network page has an HTTP server section, you are using Home Assistant 2026.8 or newer. In these versions, configure HTTP settings in the web interface:
- In HTTP server, expand Reverse proxy.
- Enable Trust X-Forwarded-For.
- Add 127.0.0.1, ::1 and 172.16.0.0/12 individually in Trusted proxies.
- Click Save, then Save and restart.
- After restarting, click Confirm in the dialog asking you to confirm the new HTTP server configuration. You must confirm within 5 minutes; otherwise Home Assistant restores the previous settings.
If there is no HTTP server section, you are using a version earlier than 2026.8. This also applies to Wiren Board 6 and 7, which no longer receive new versions:
- Add the following to
/mnt/data/.docker-compose/home-assistant/config/home-assistant/configuration.yaml:http: use_x_forwarded_for: true trusted_proxies: - 127.0.0.1 - ::1 - 172.16.0.0/12 - Restart the container:
docker restart home-assistant
When you later upgrade to Home Assistant 2026.8 or newer, the HTTP settings migrate to the HTTP server section at first startup. If asked, click Confirm within 5 minutes; otherwise the settings revert and must be entered again using the steps above. Check the addresses in Trusted proxies, then remove the http: block from configuration.yaml.