 Documentation
Reference · English
Opening Wiren Board 8M
These instructions apply to Wiren Board 8M. Choose another controller version.
Tools
A PH1 Phillips screwdriver and an 8 mm spanner are required.
Removing the top cover
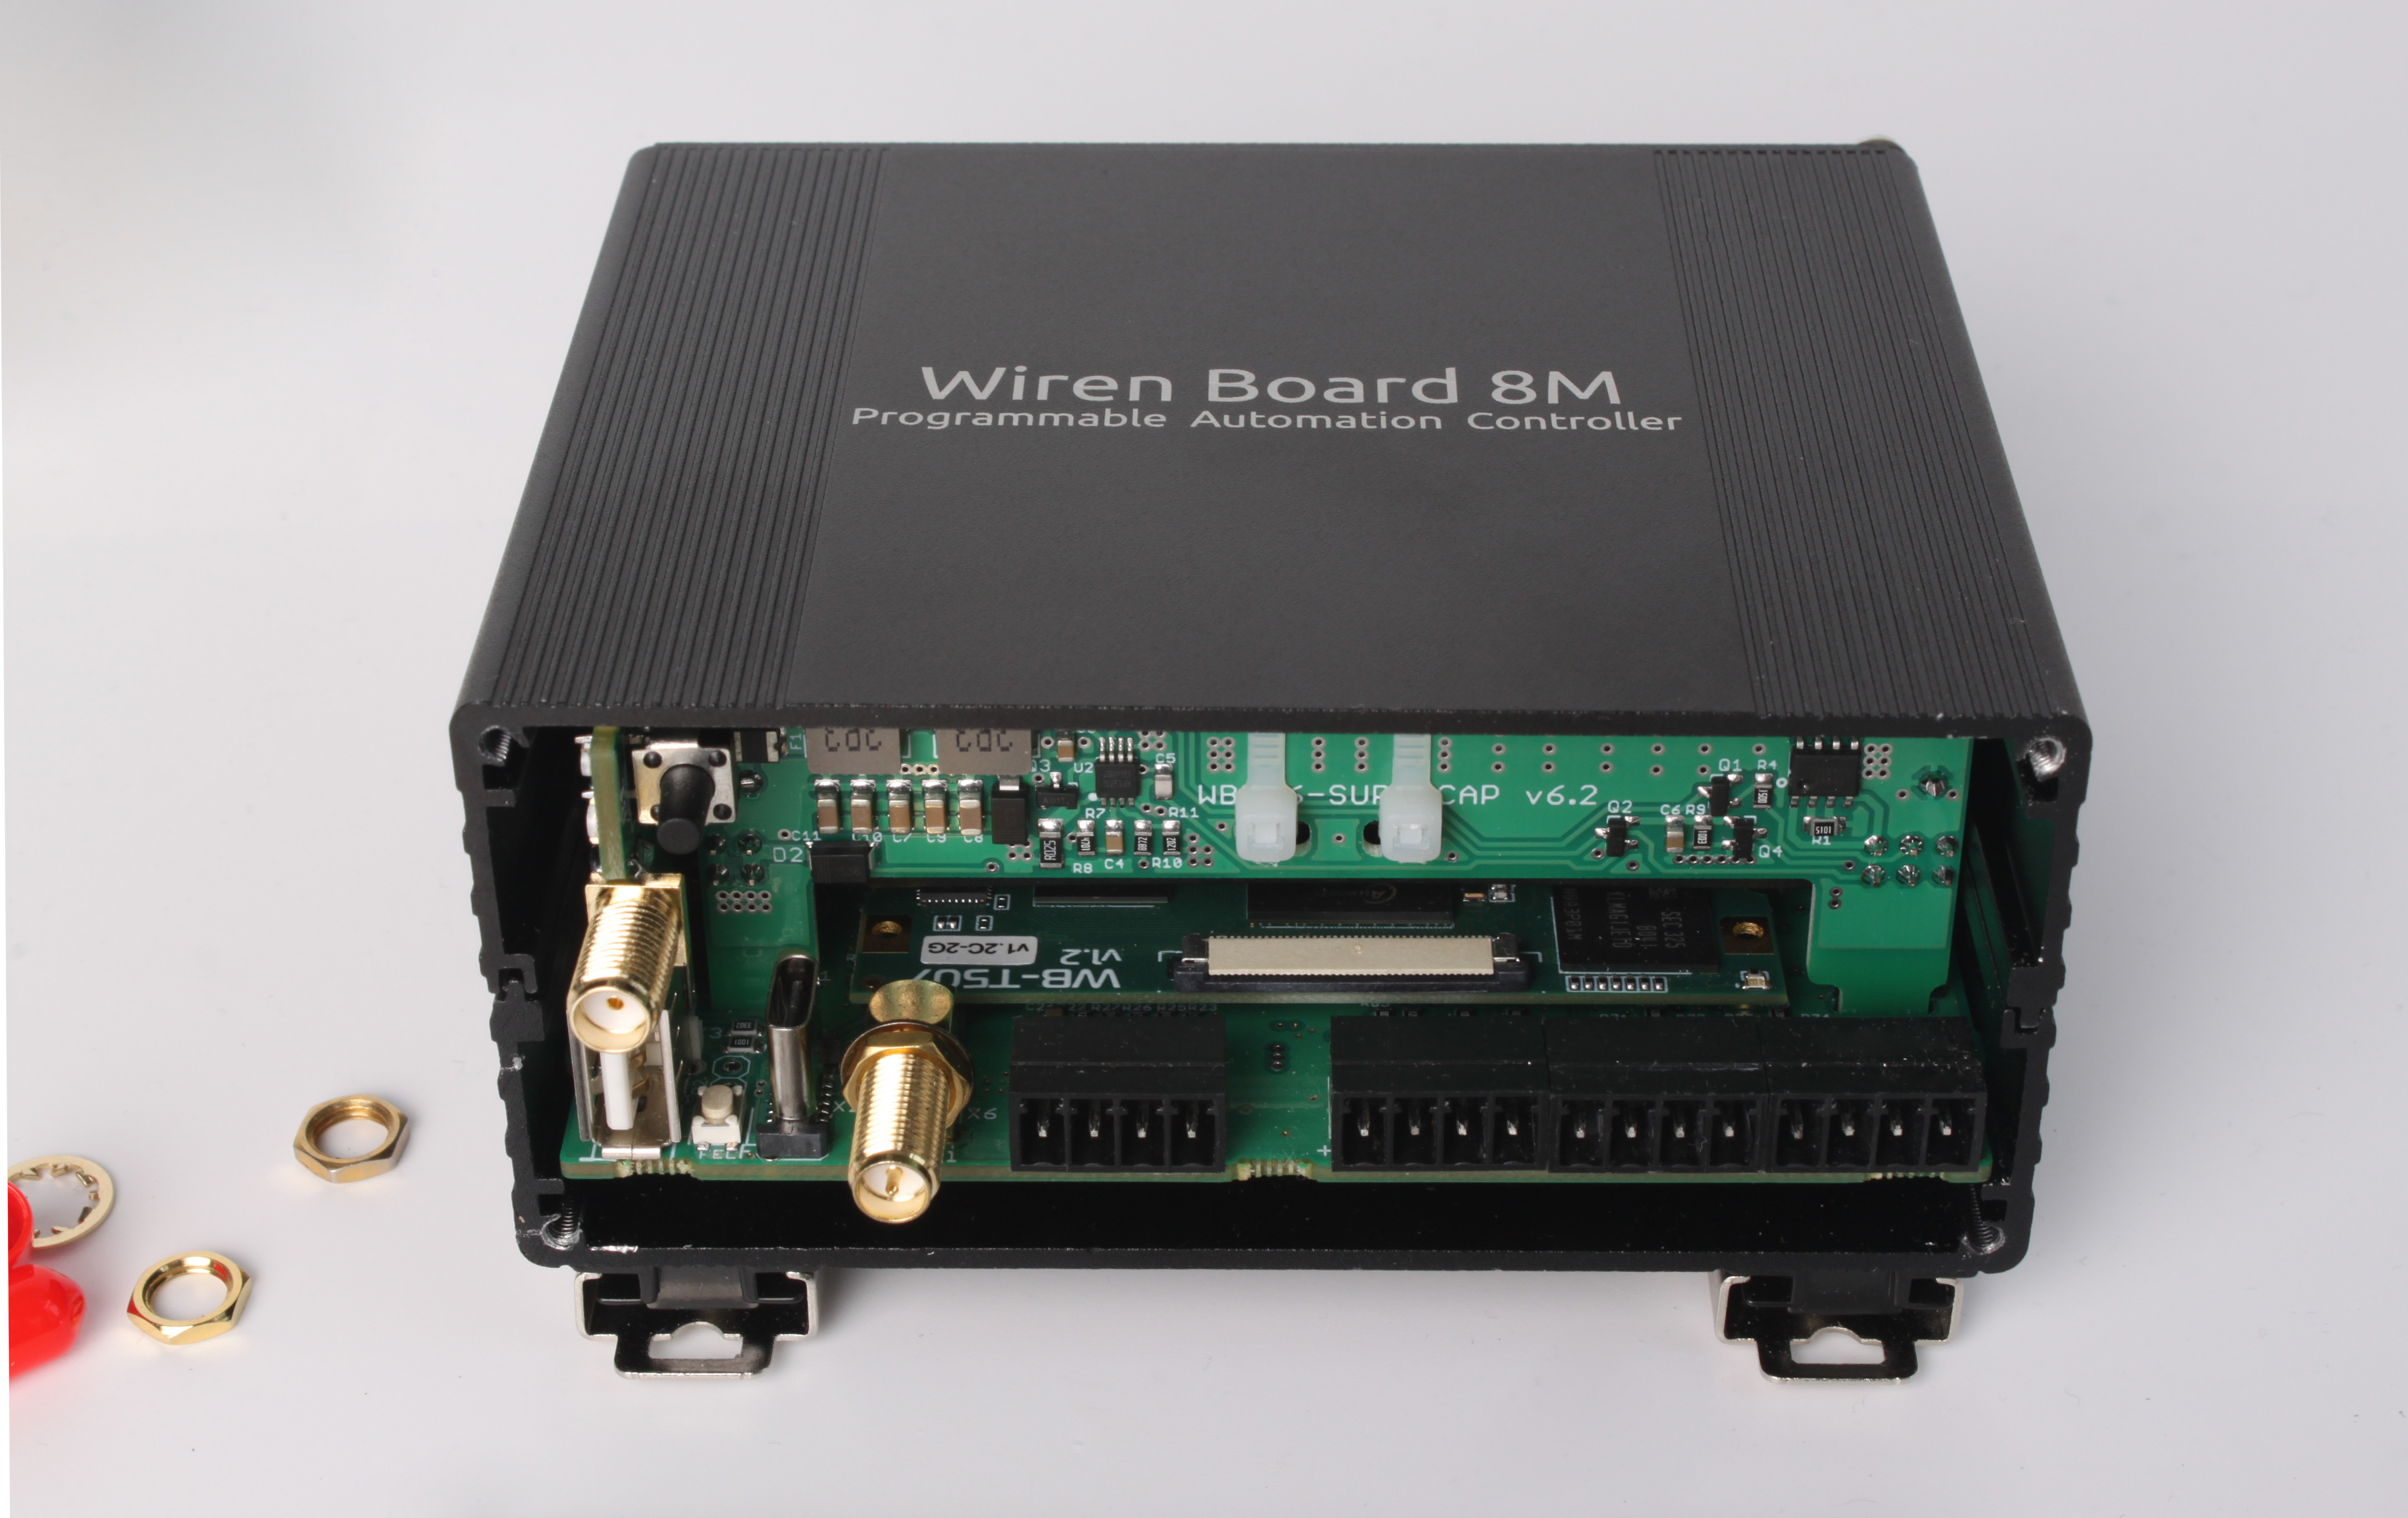
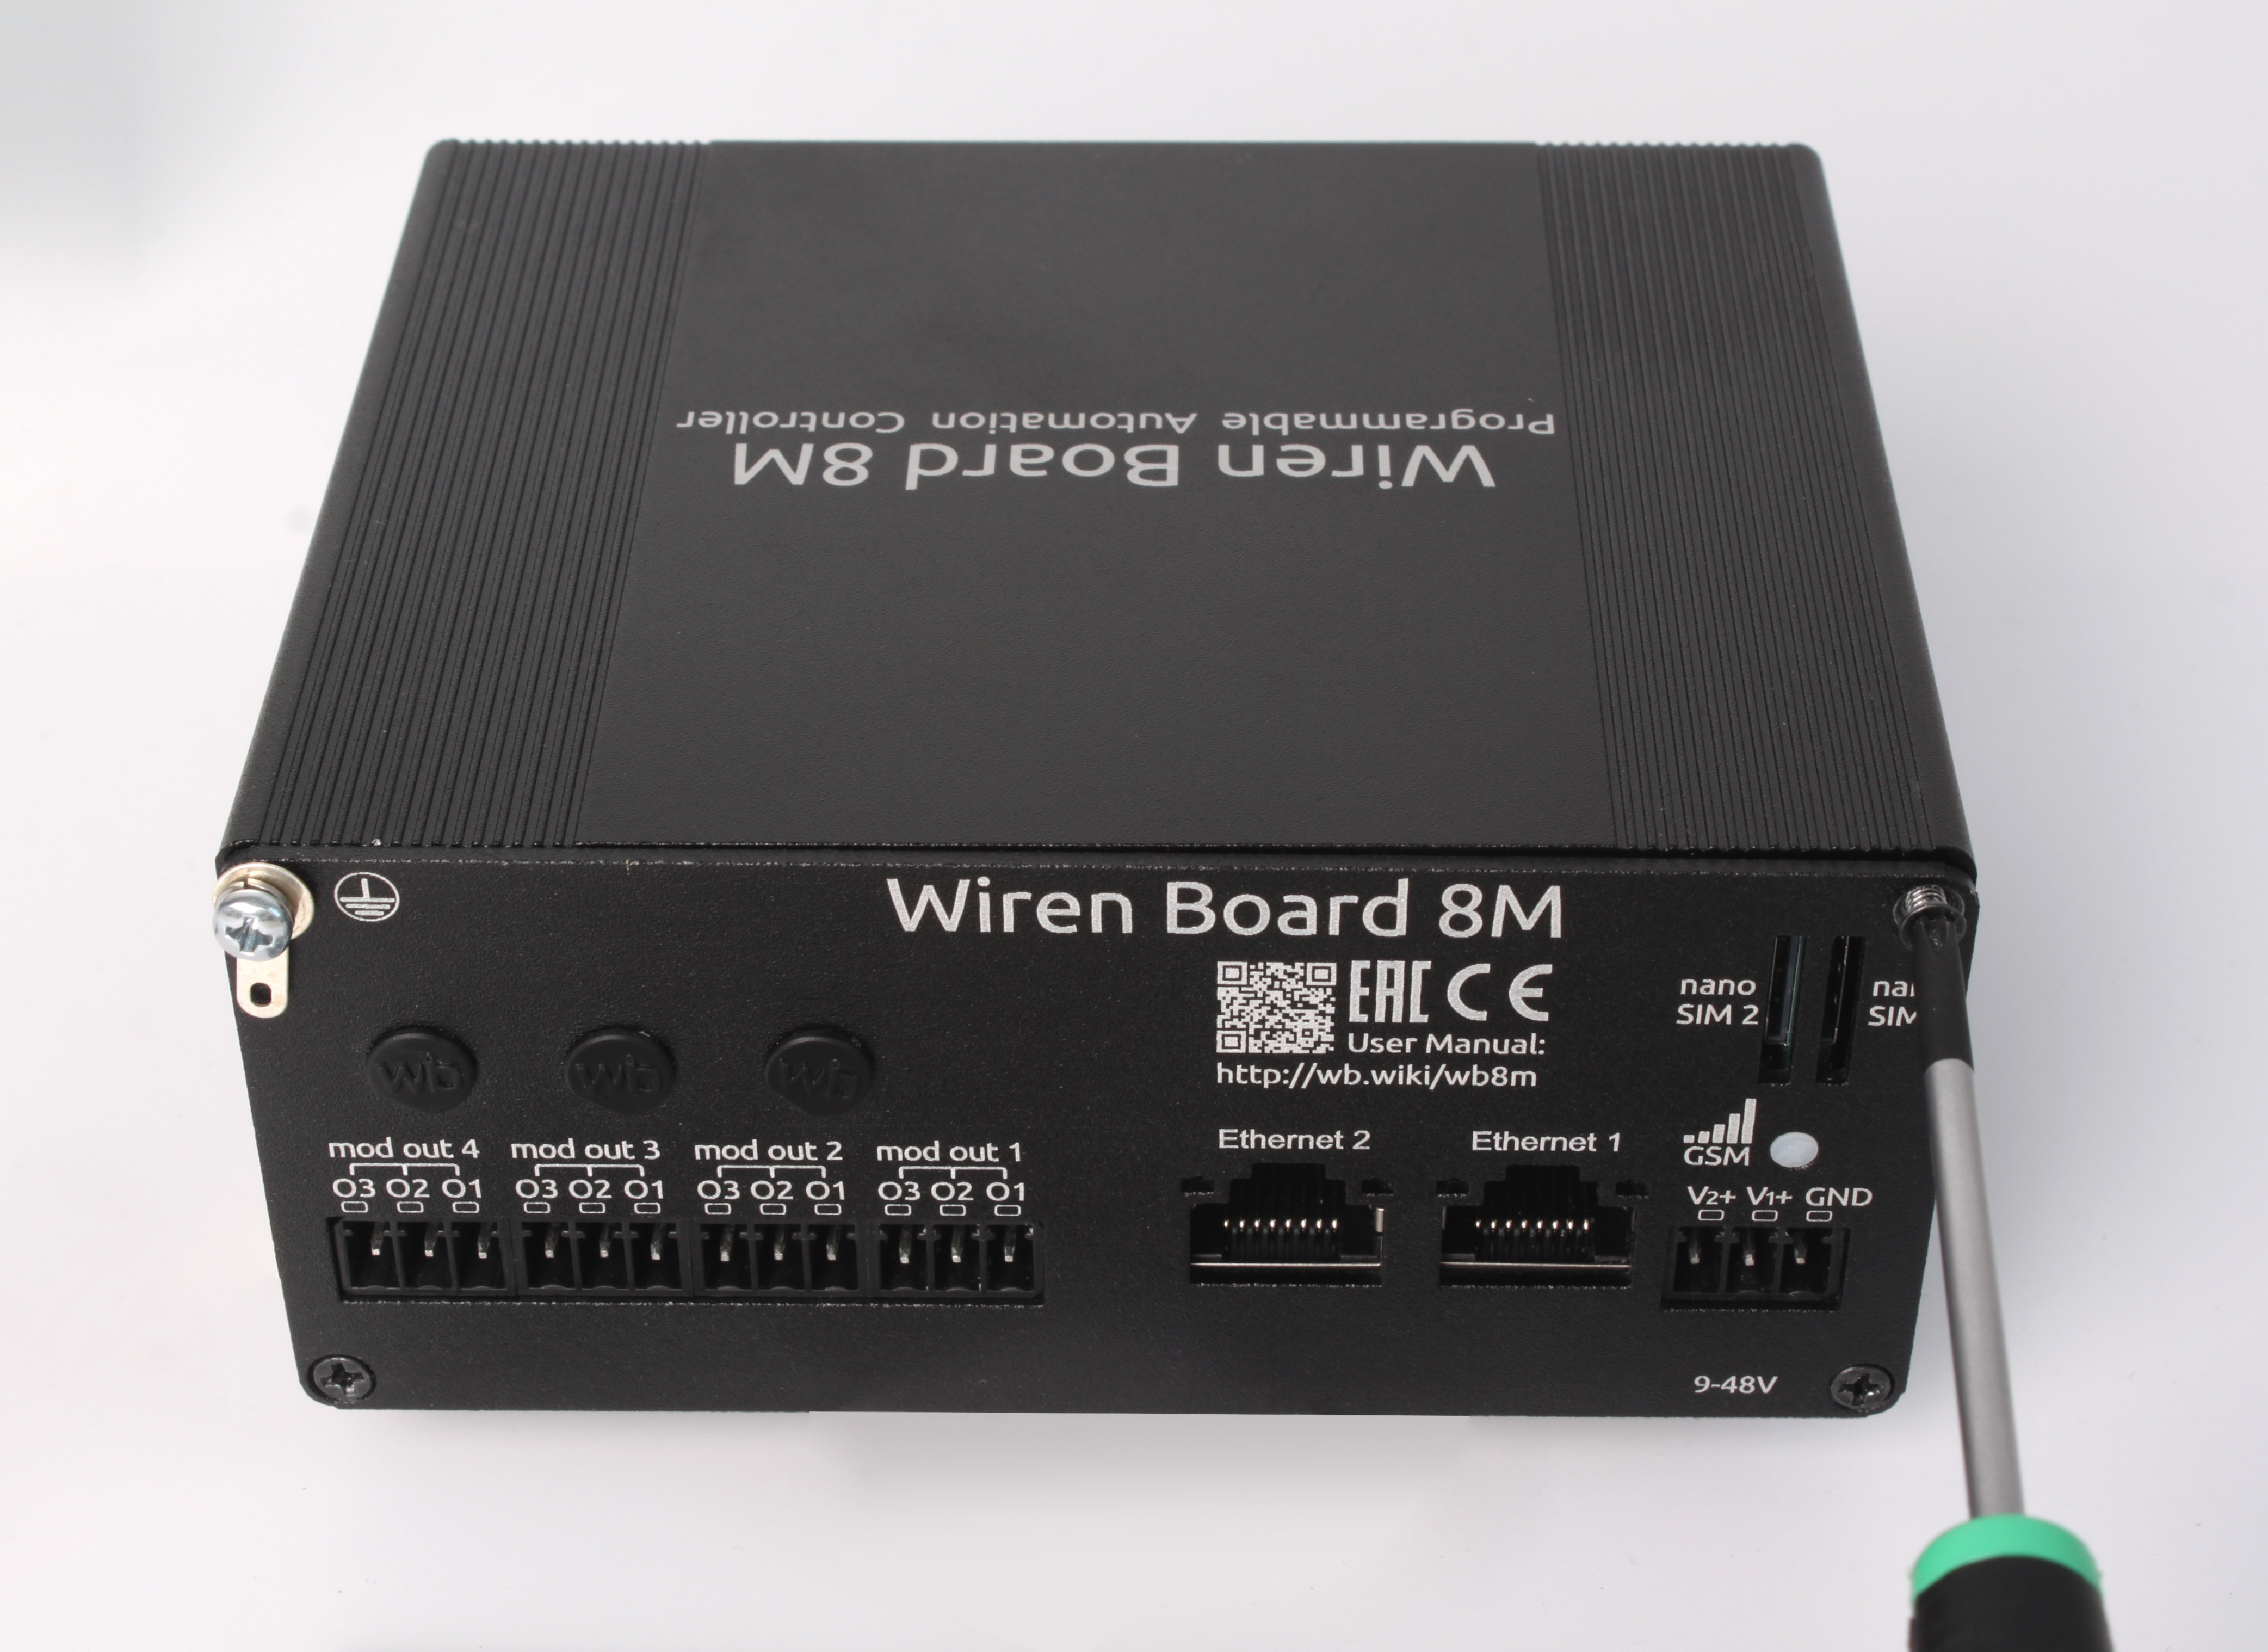
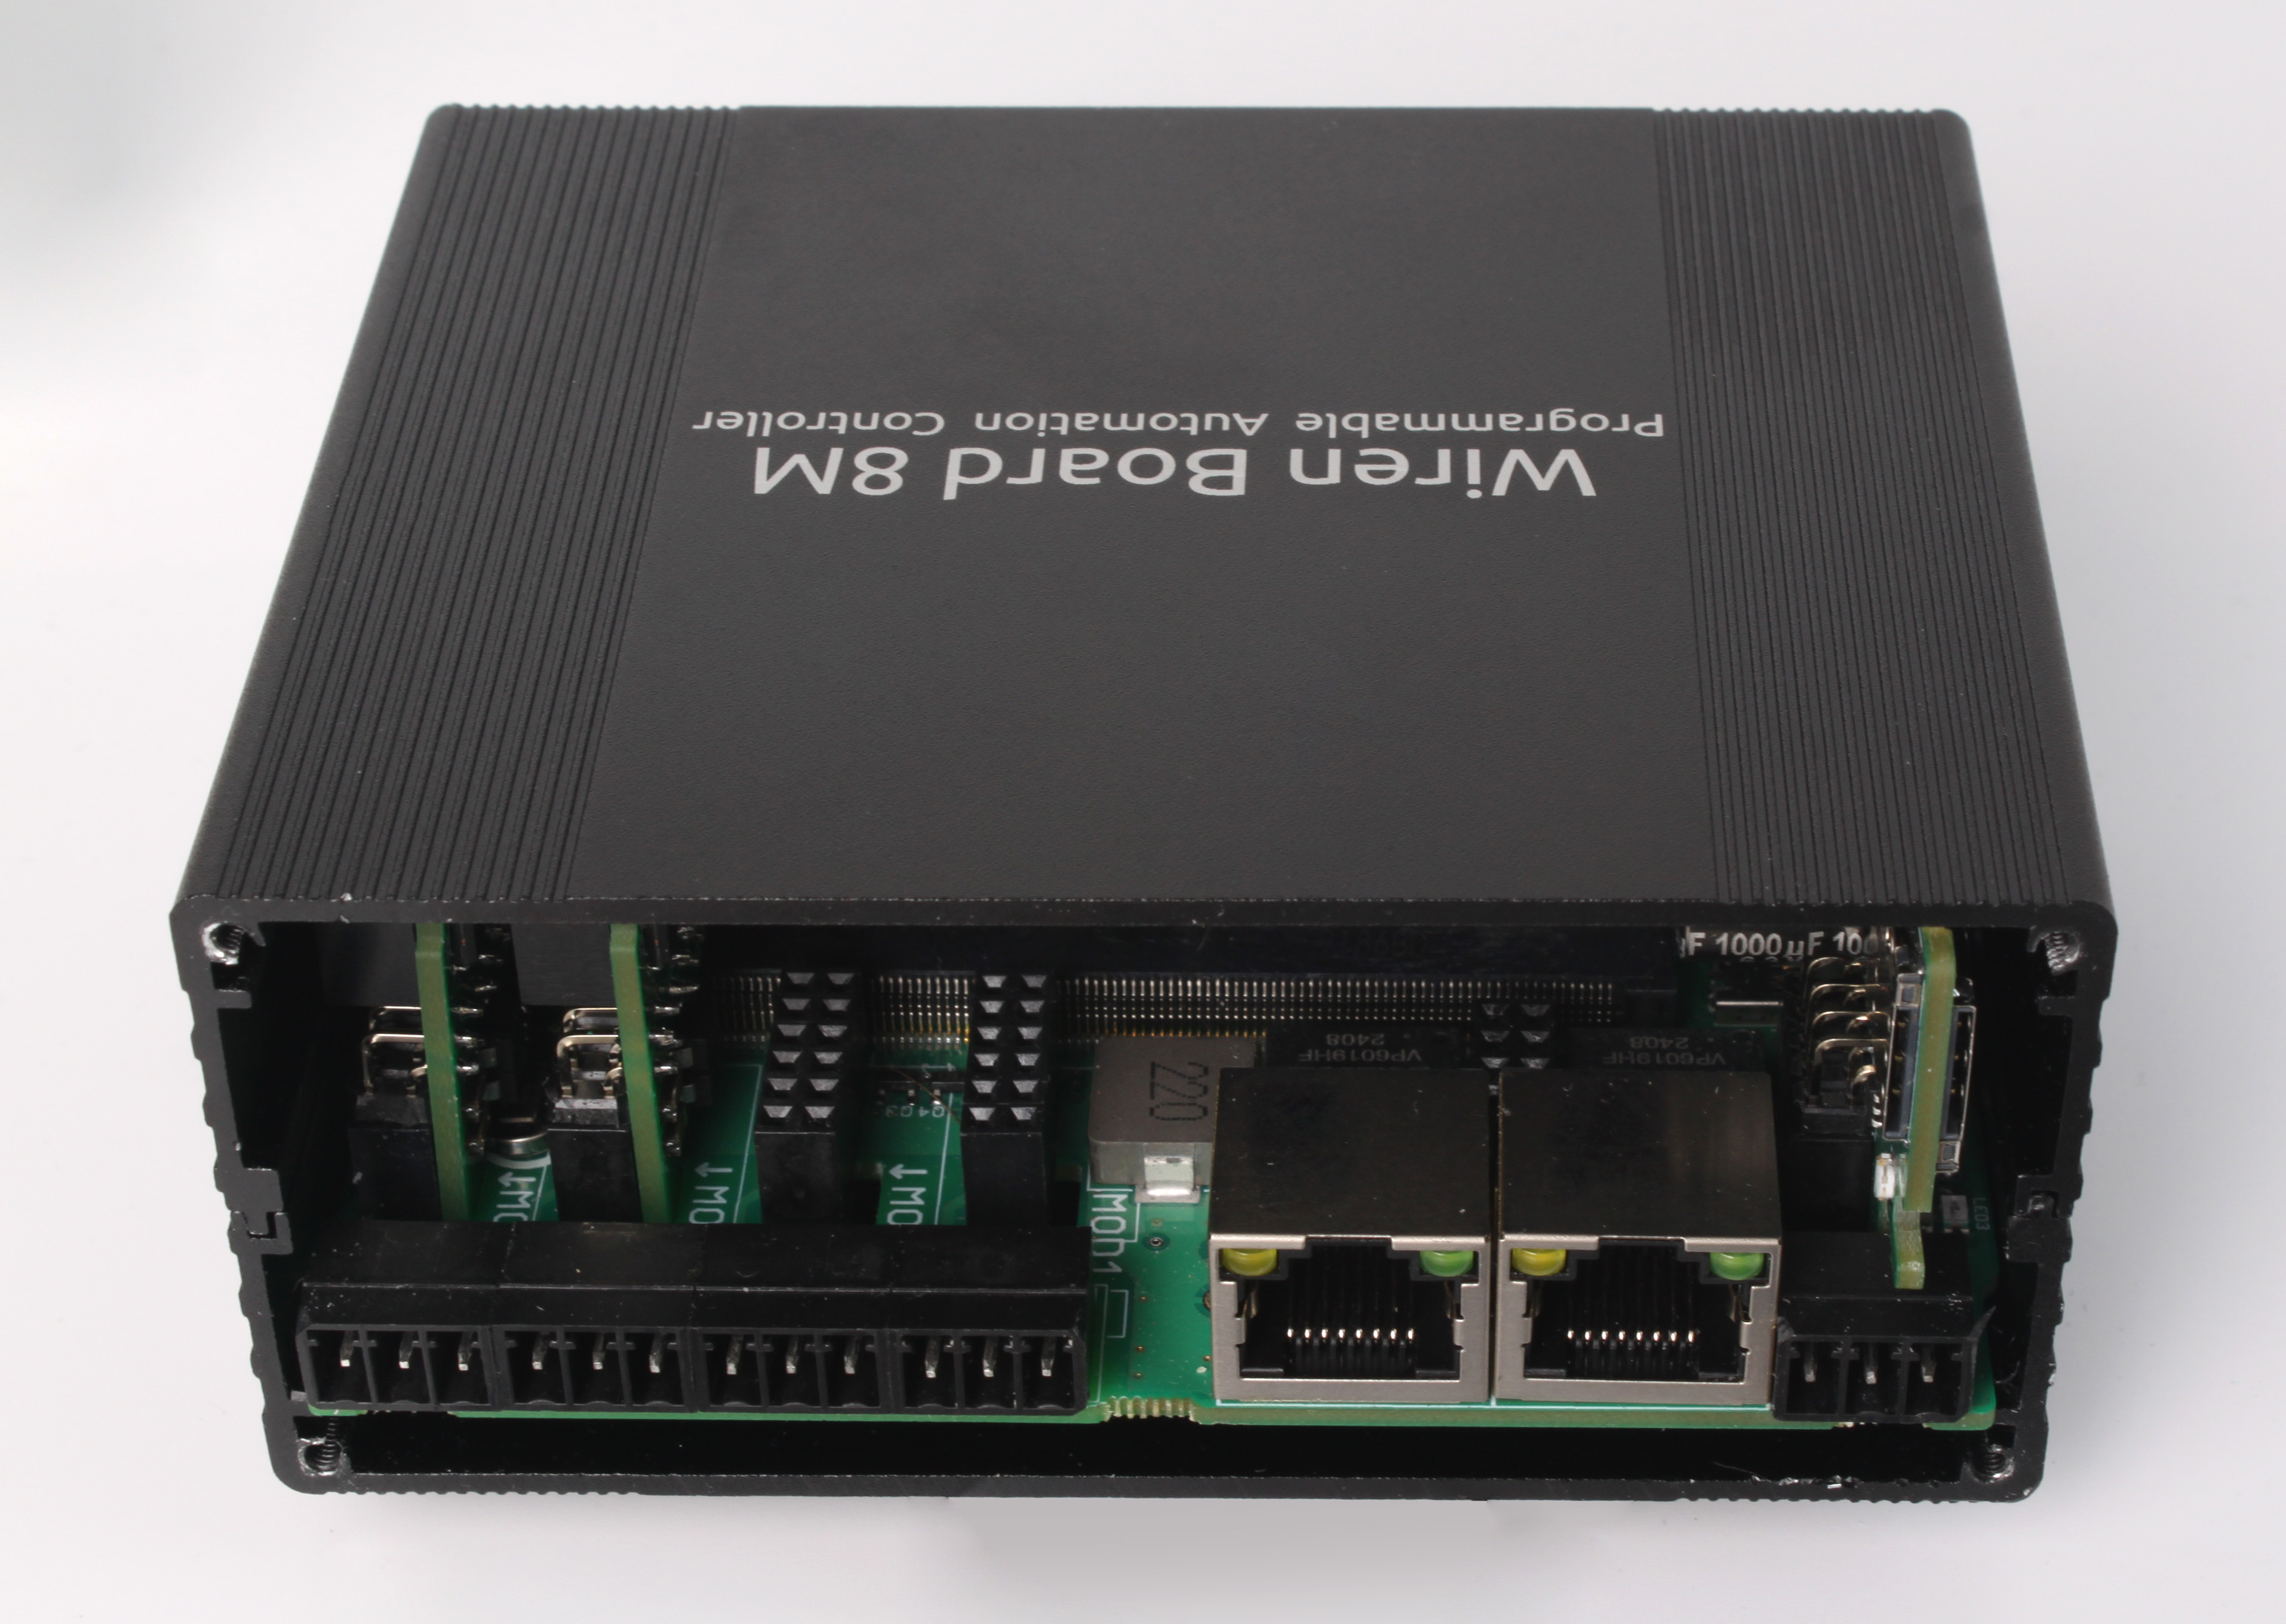
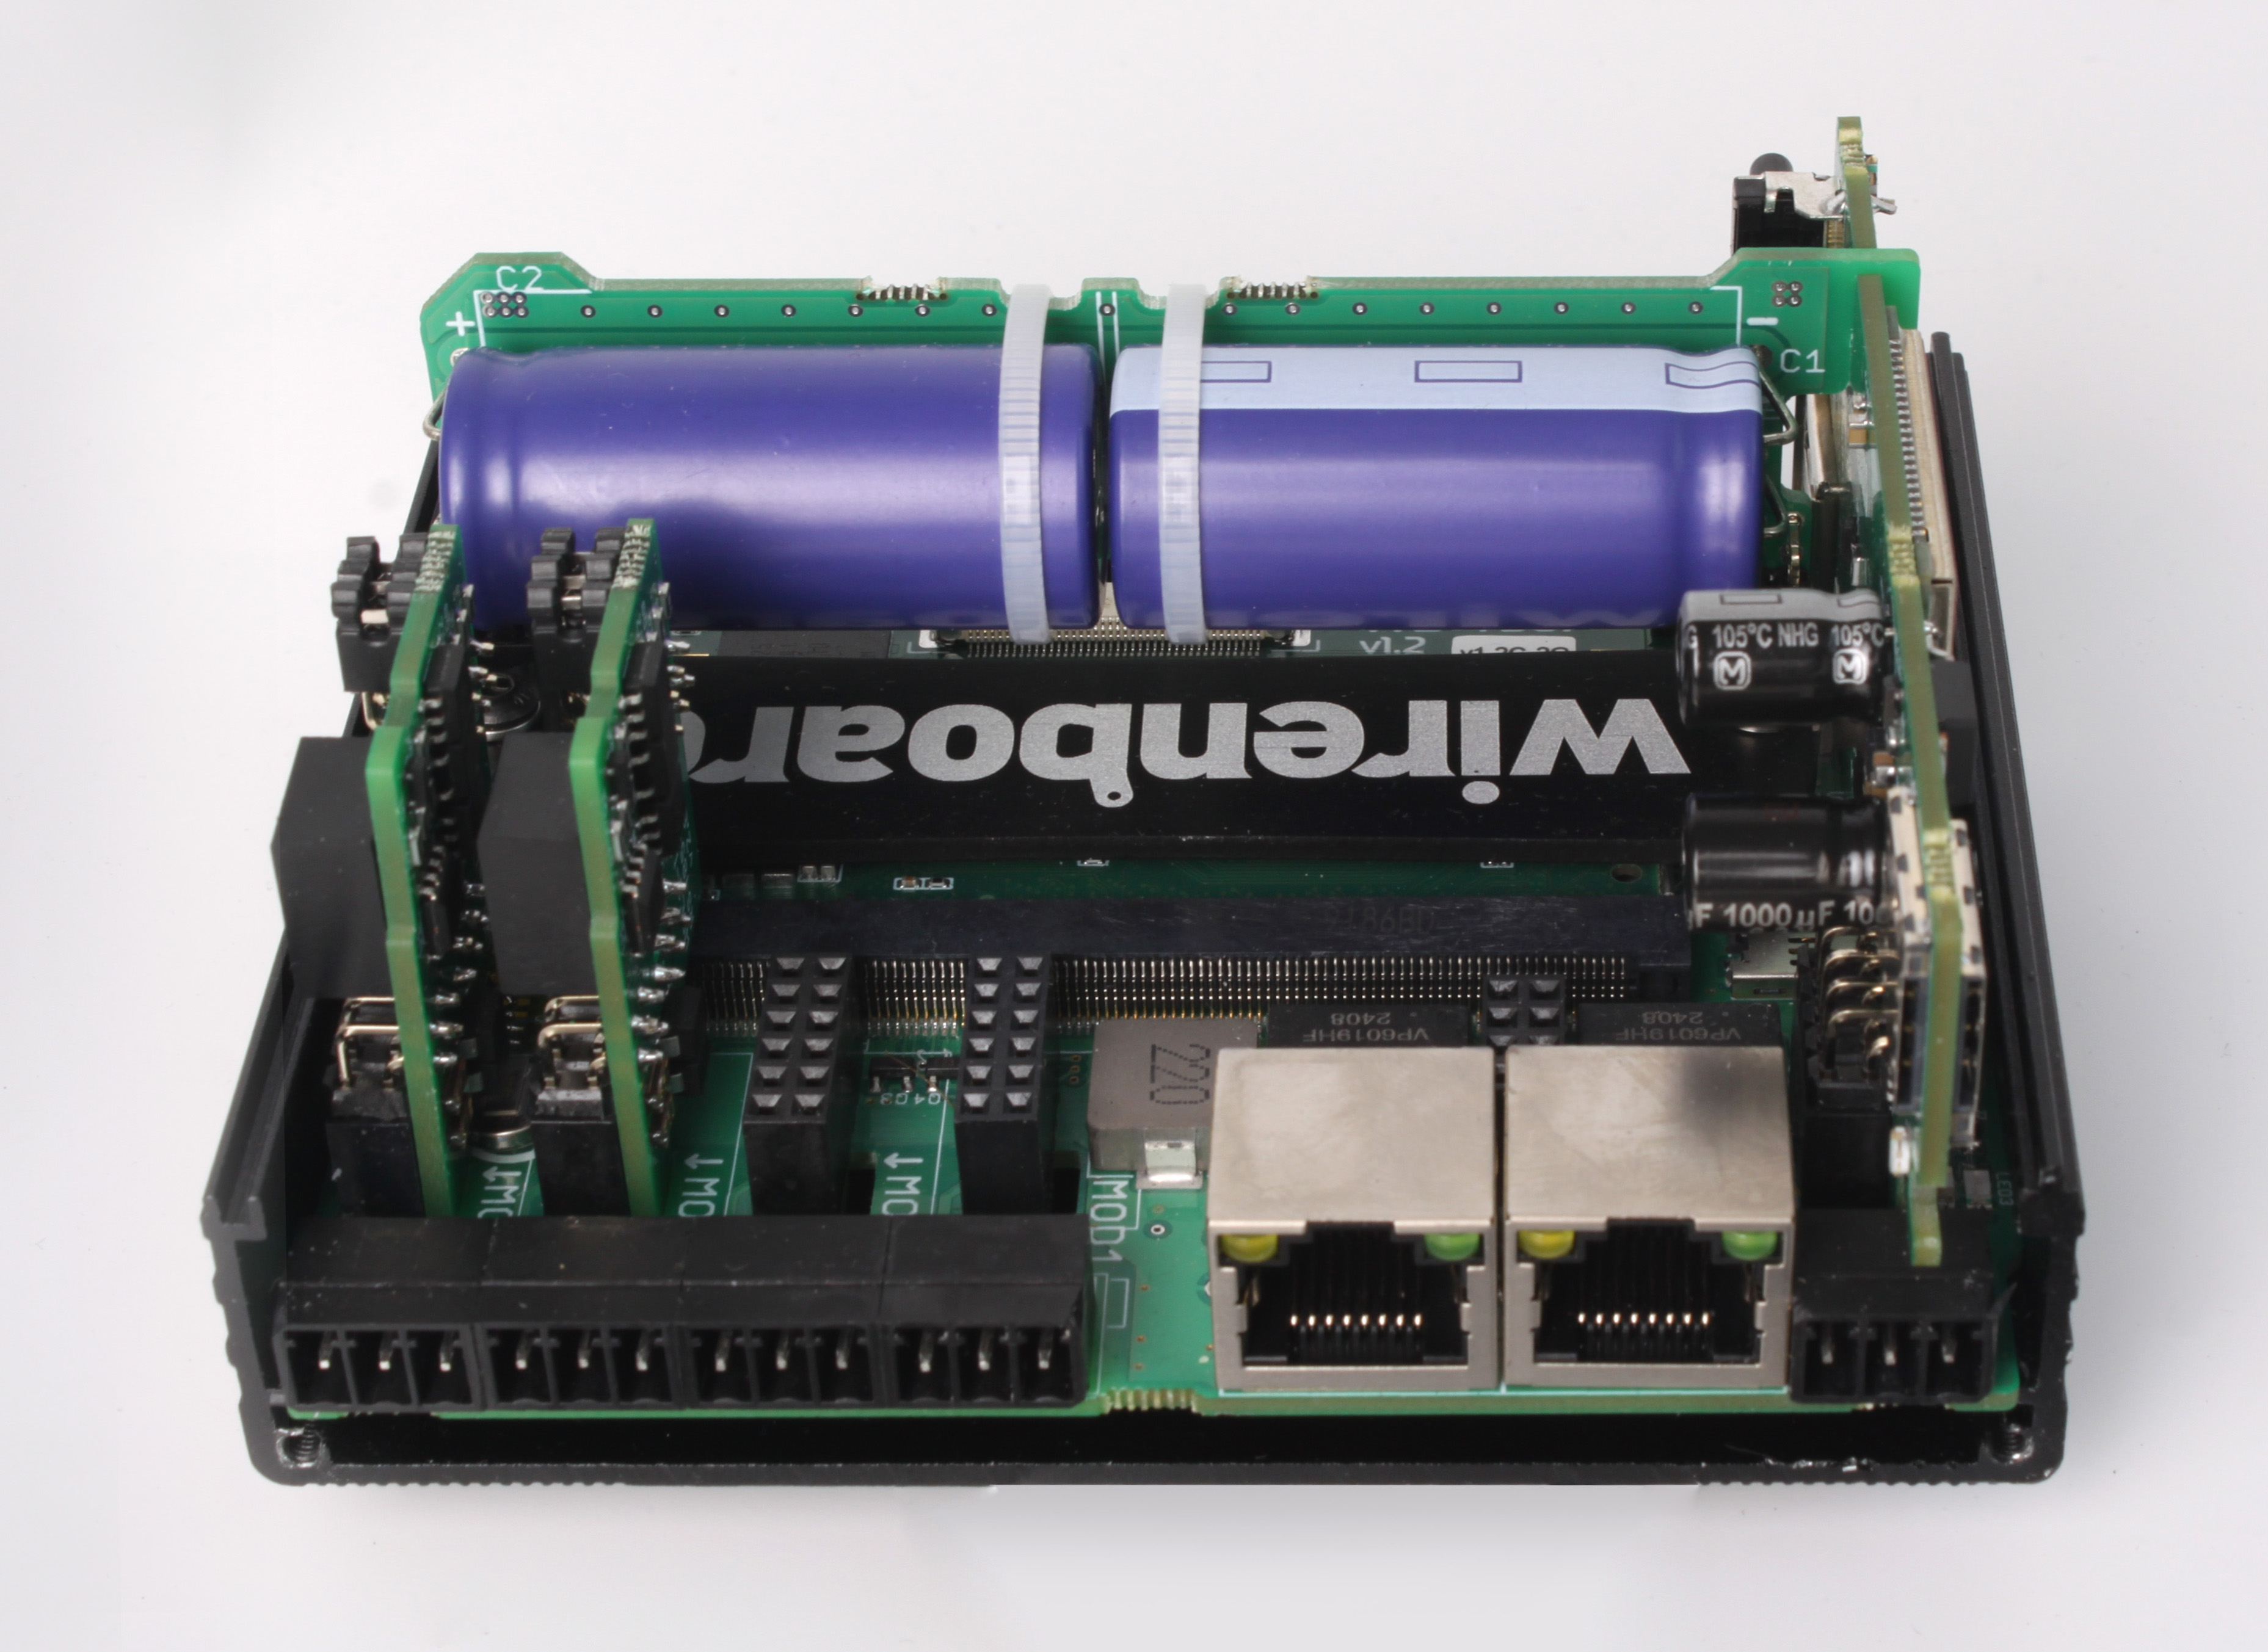
To install expansion modules or access the debug port, remove the enclosure's top cover. The enclosure consists of two halves. Use a PH1 screwdriver to remove two screws on each side and lift off the upper half. The faceplates remain in place.
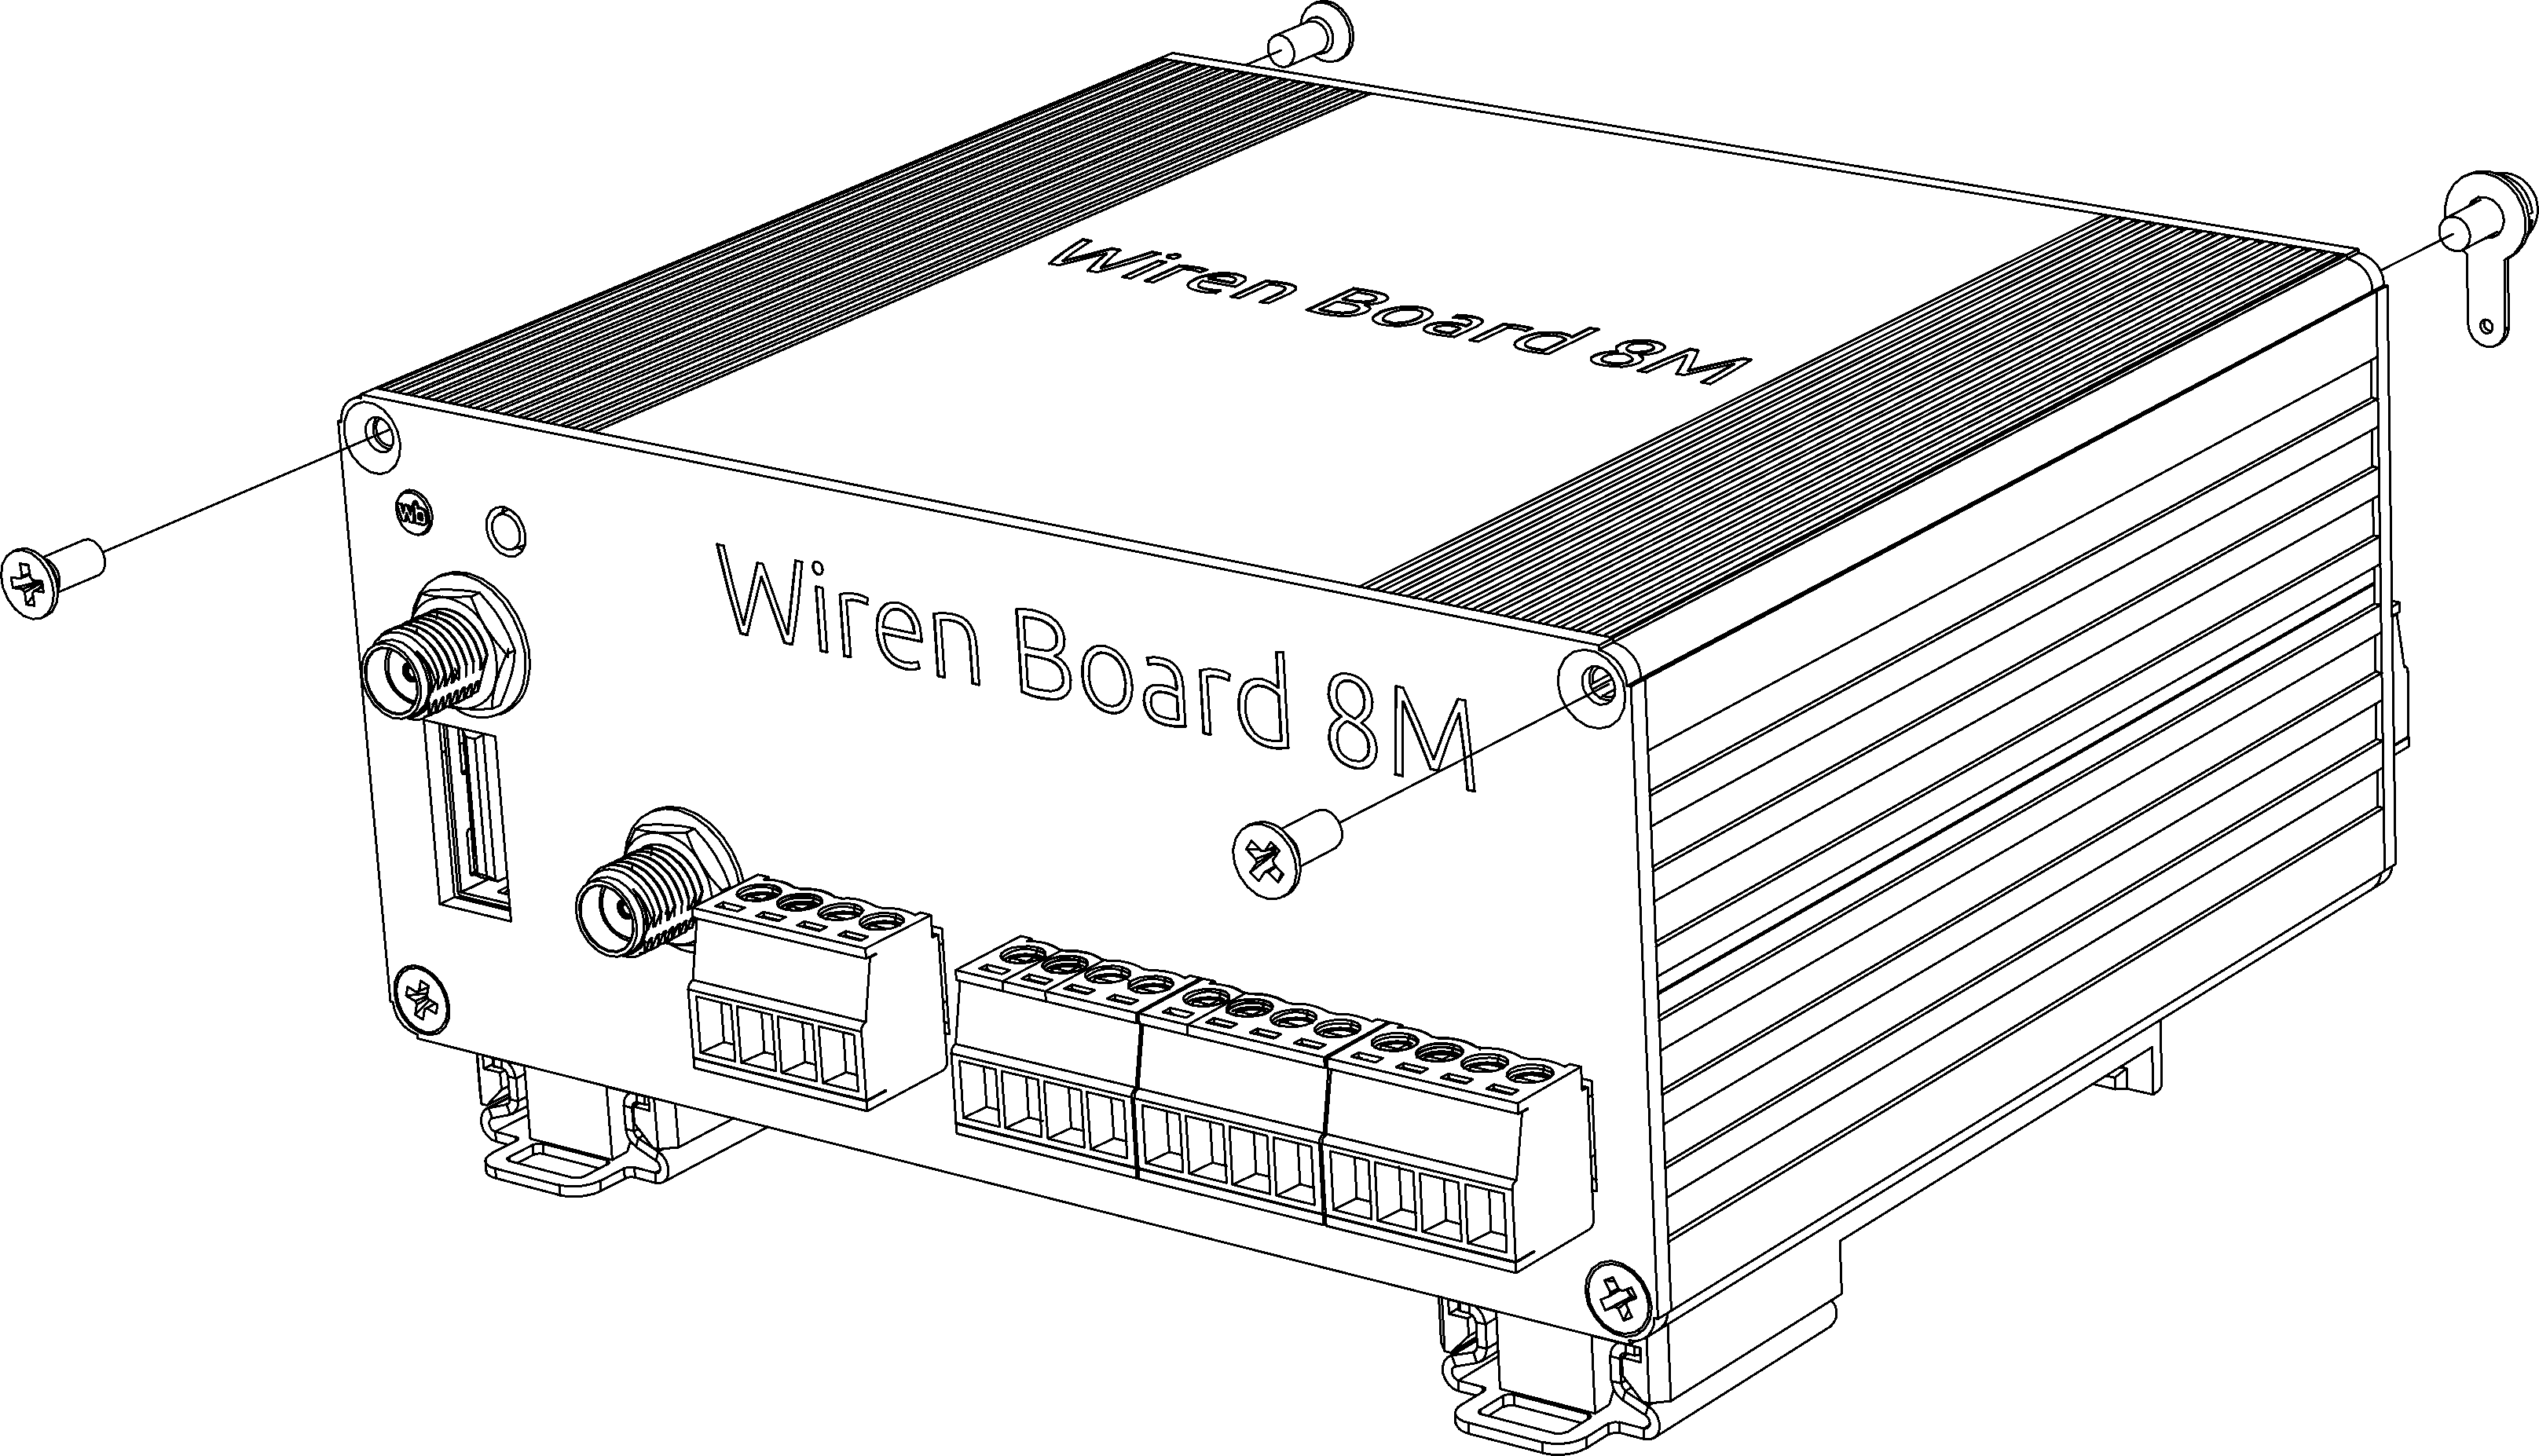
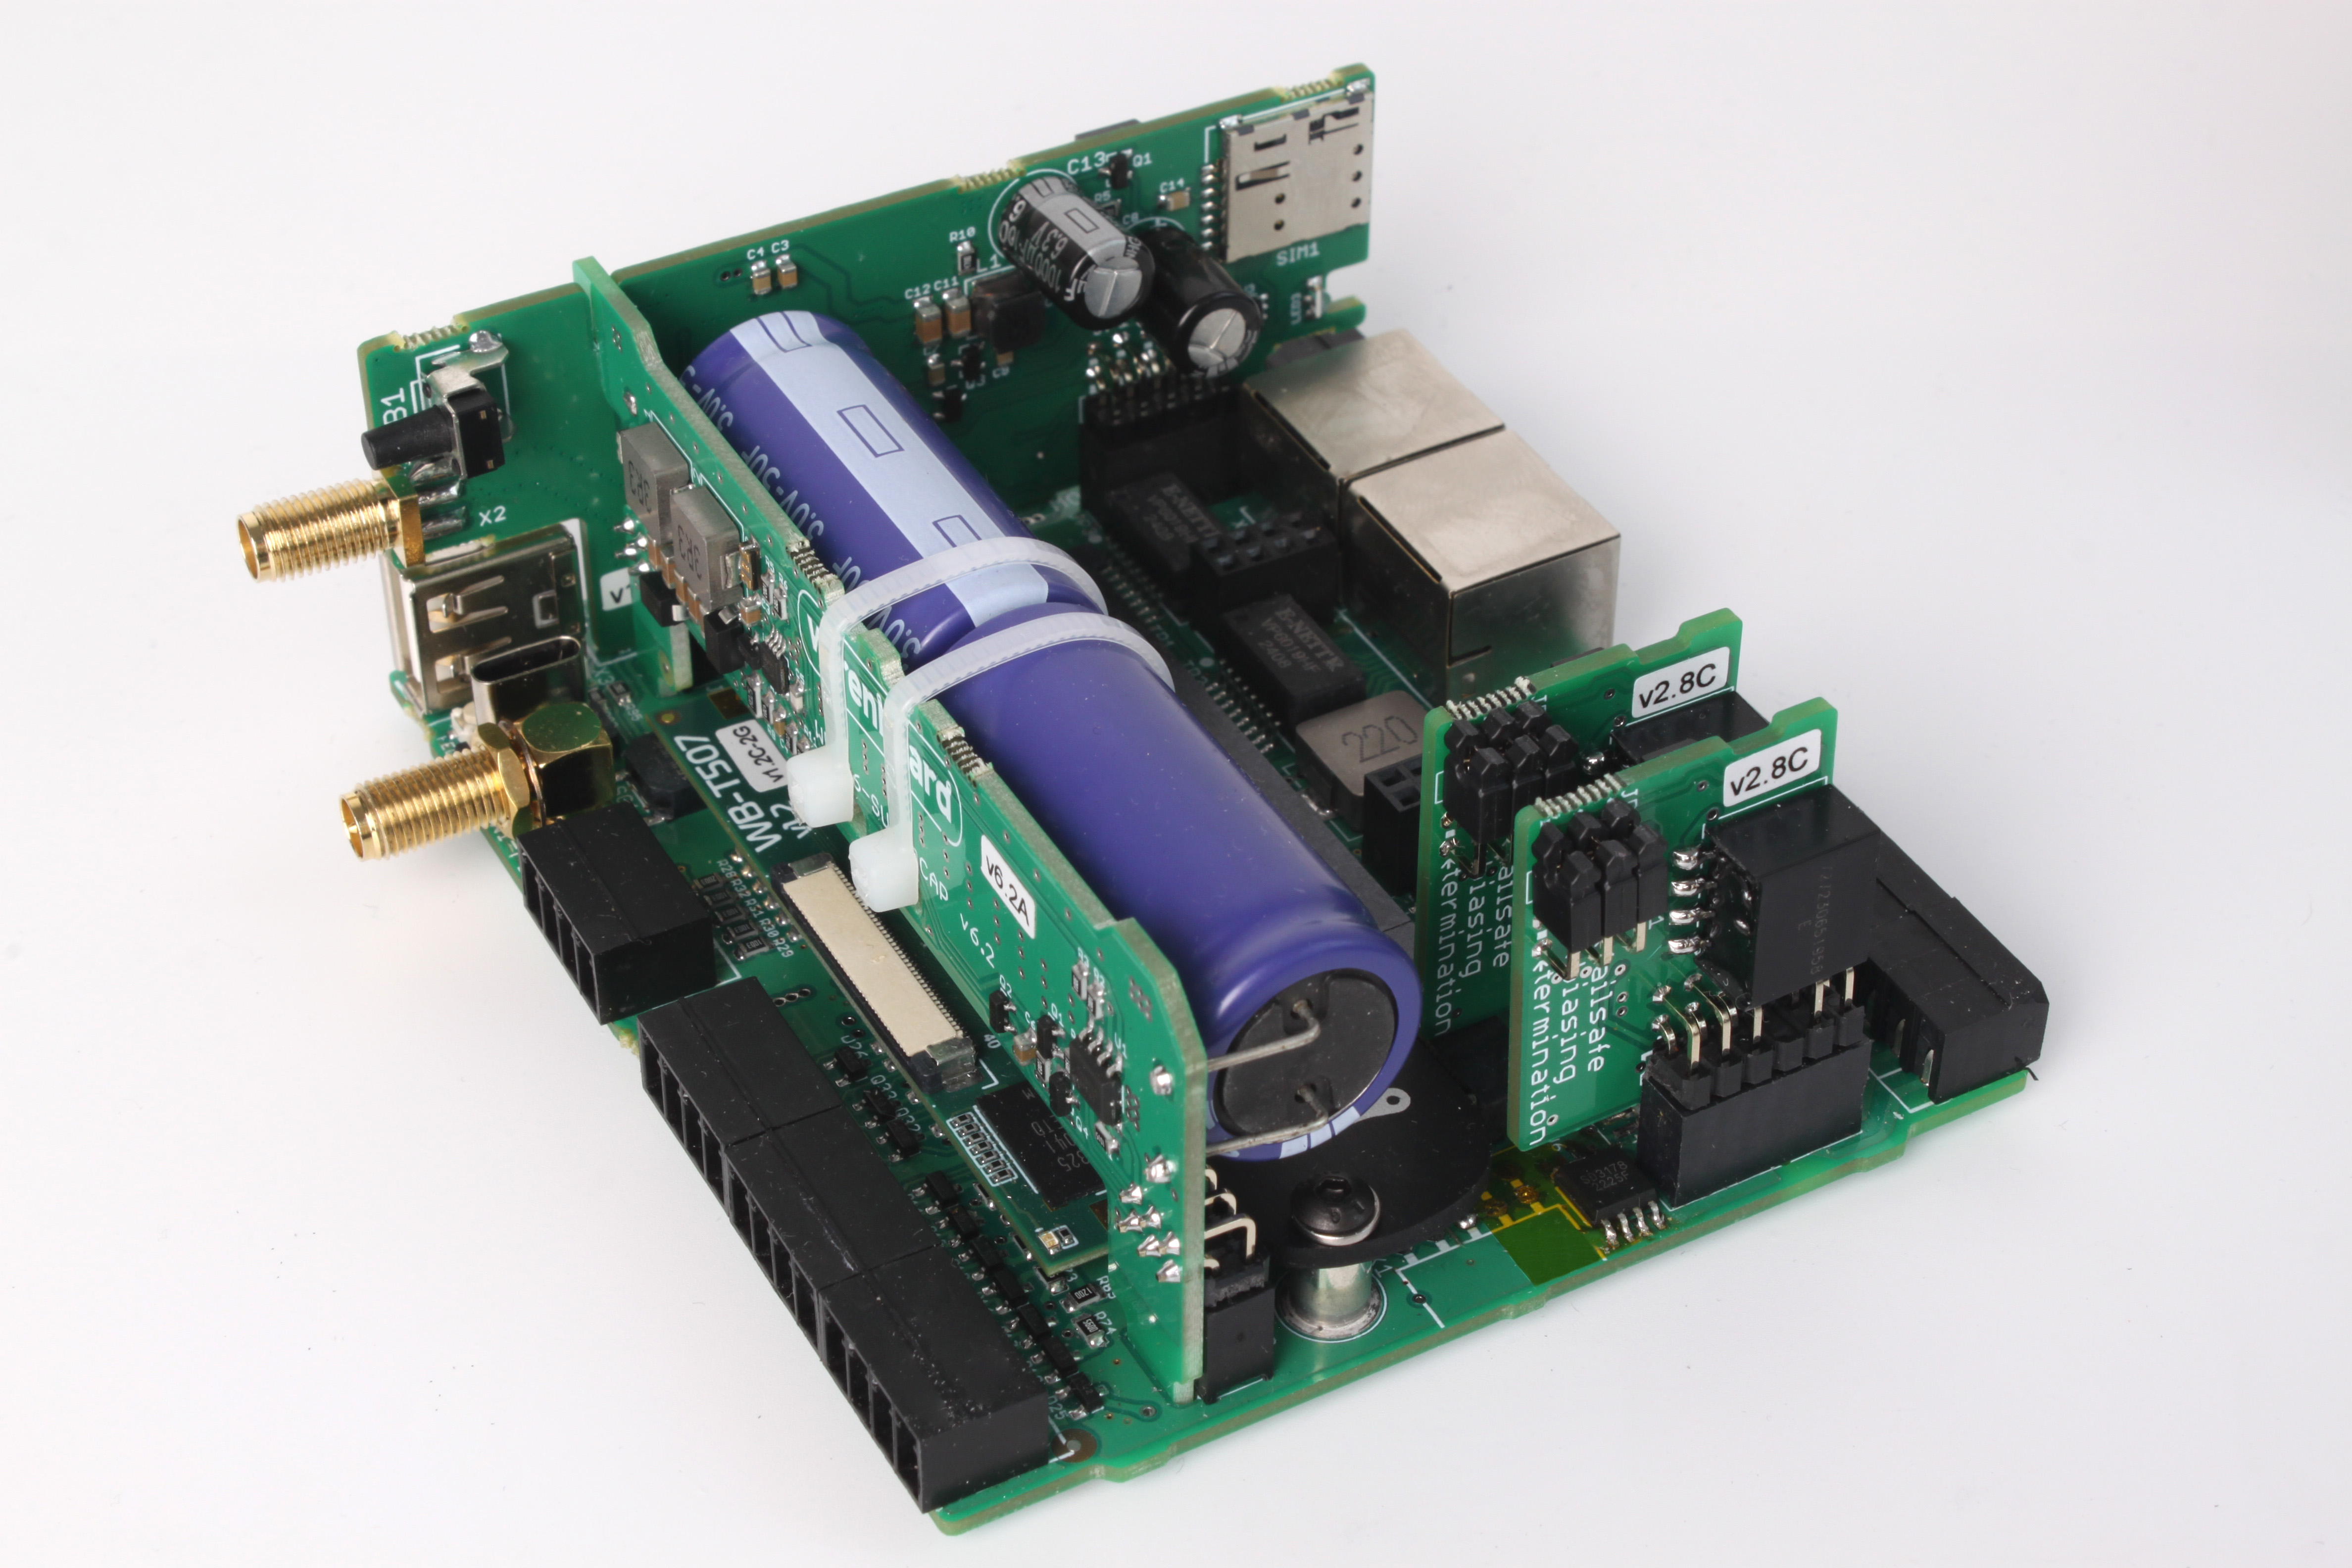
Complete disassembly
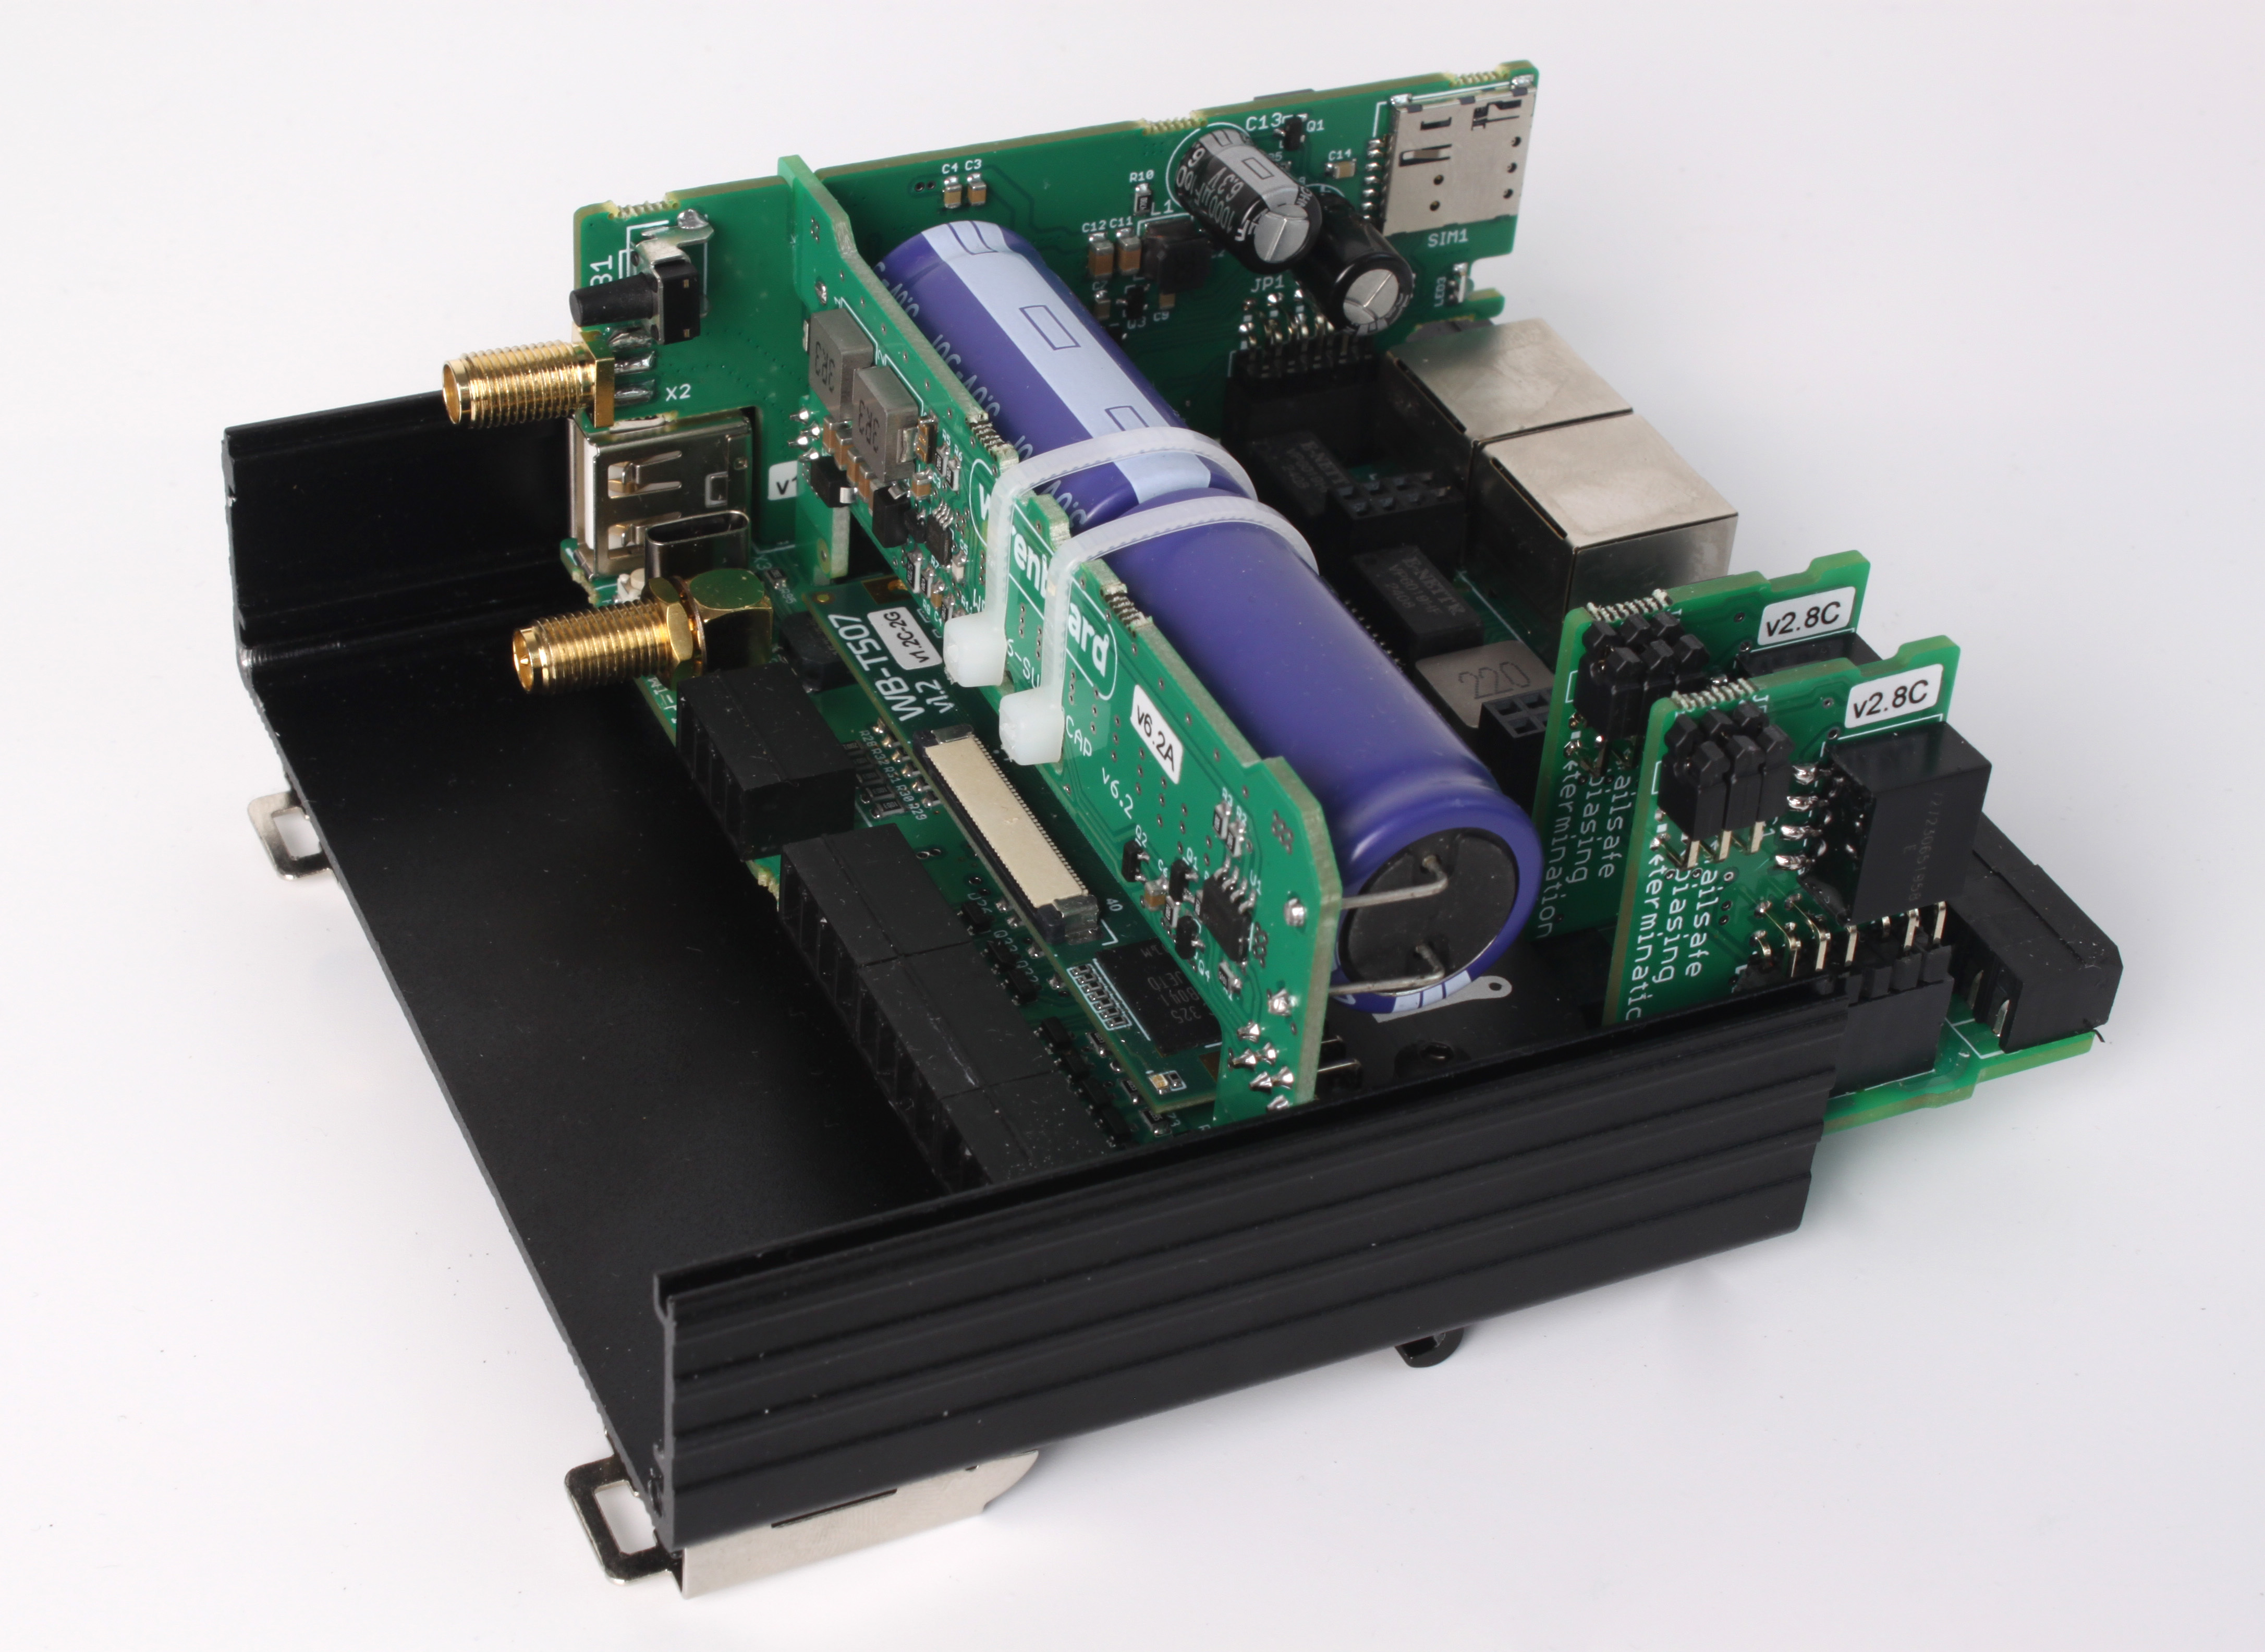
Full disassembly is required only to install a memory card or replace the controller PCB. For other operations, removing the top cover is sufficient.
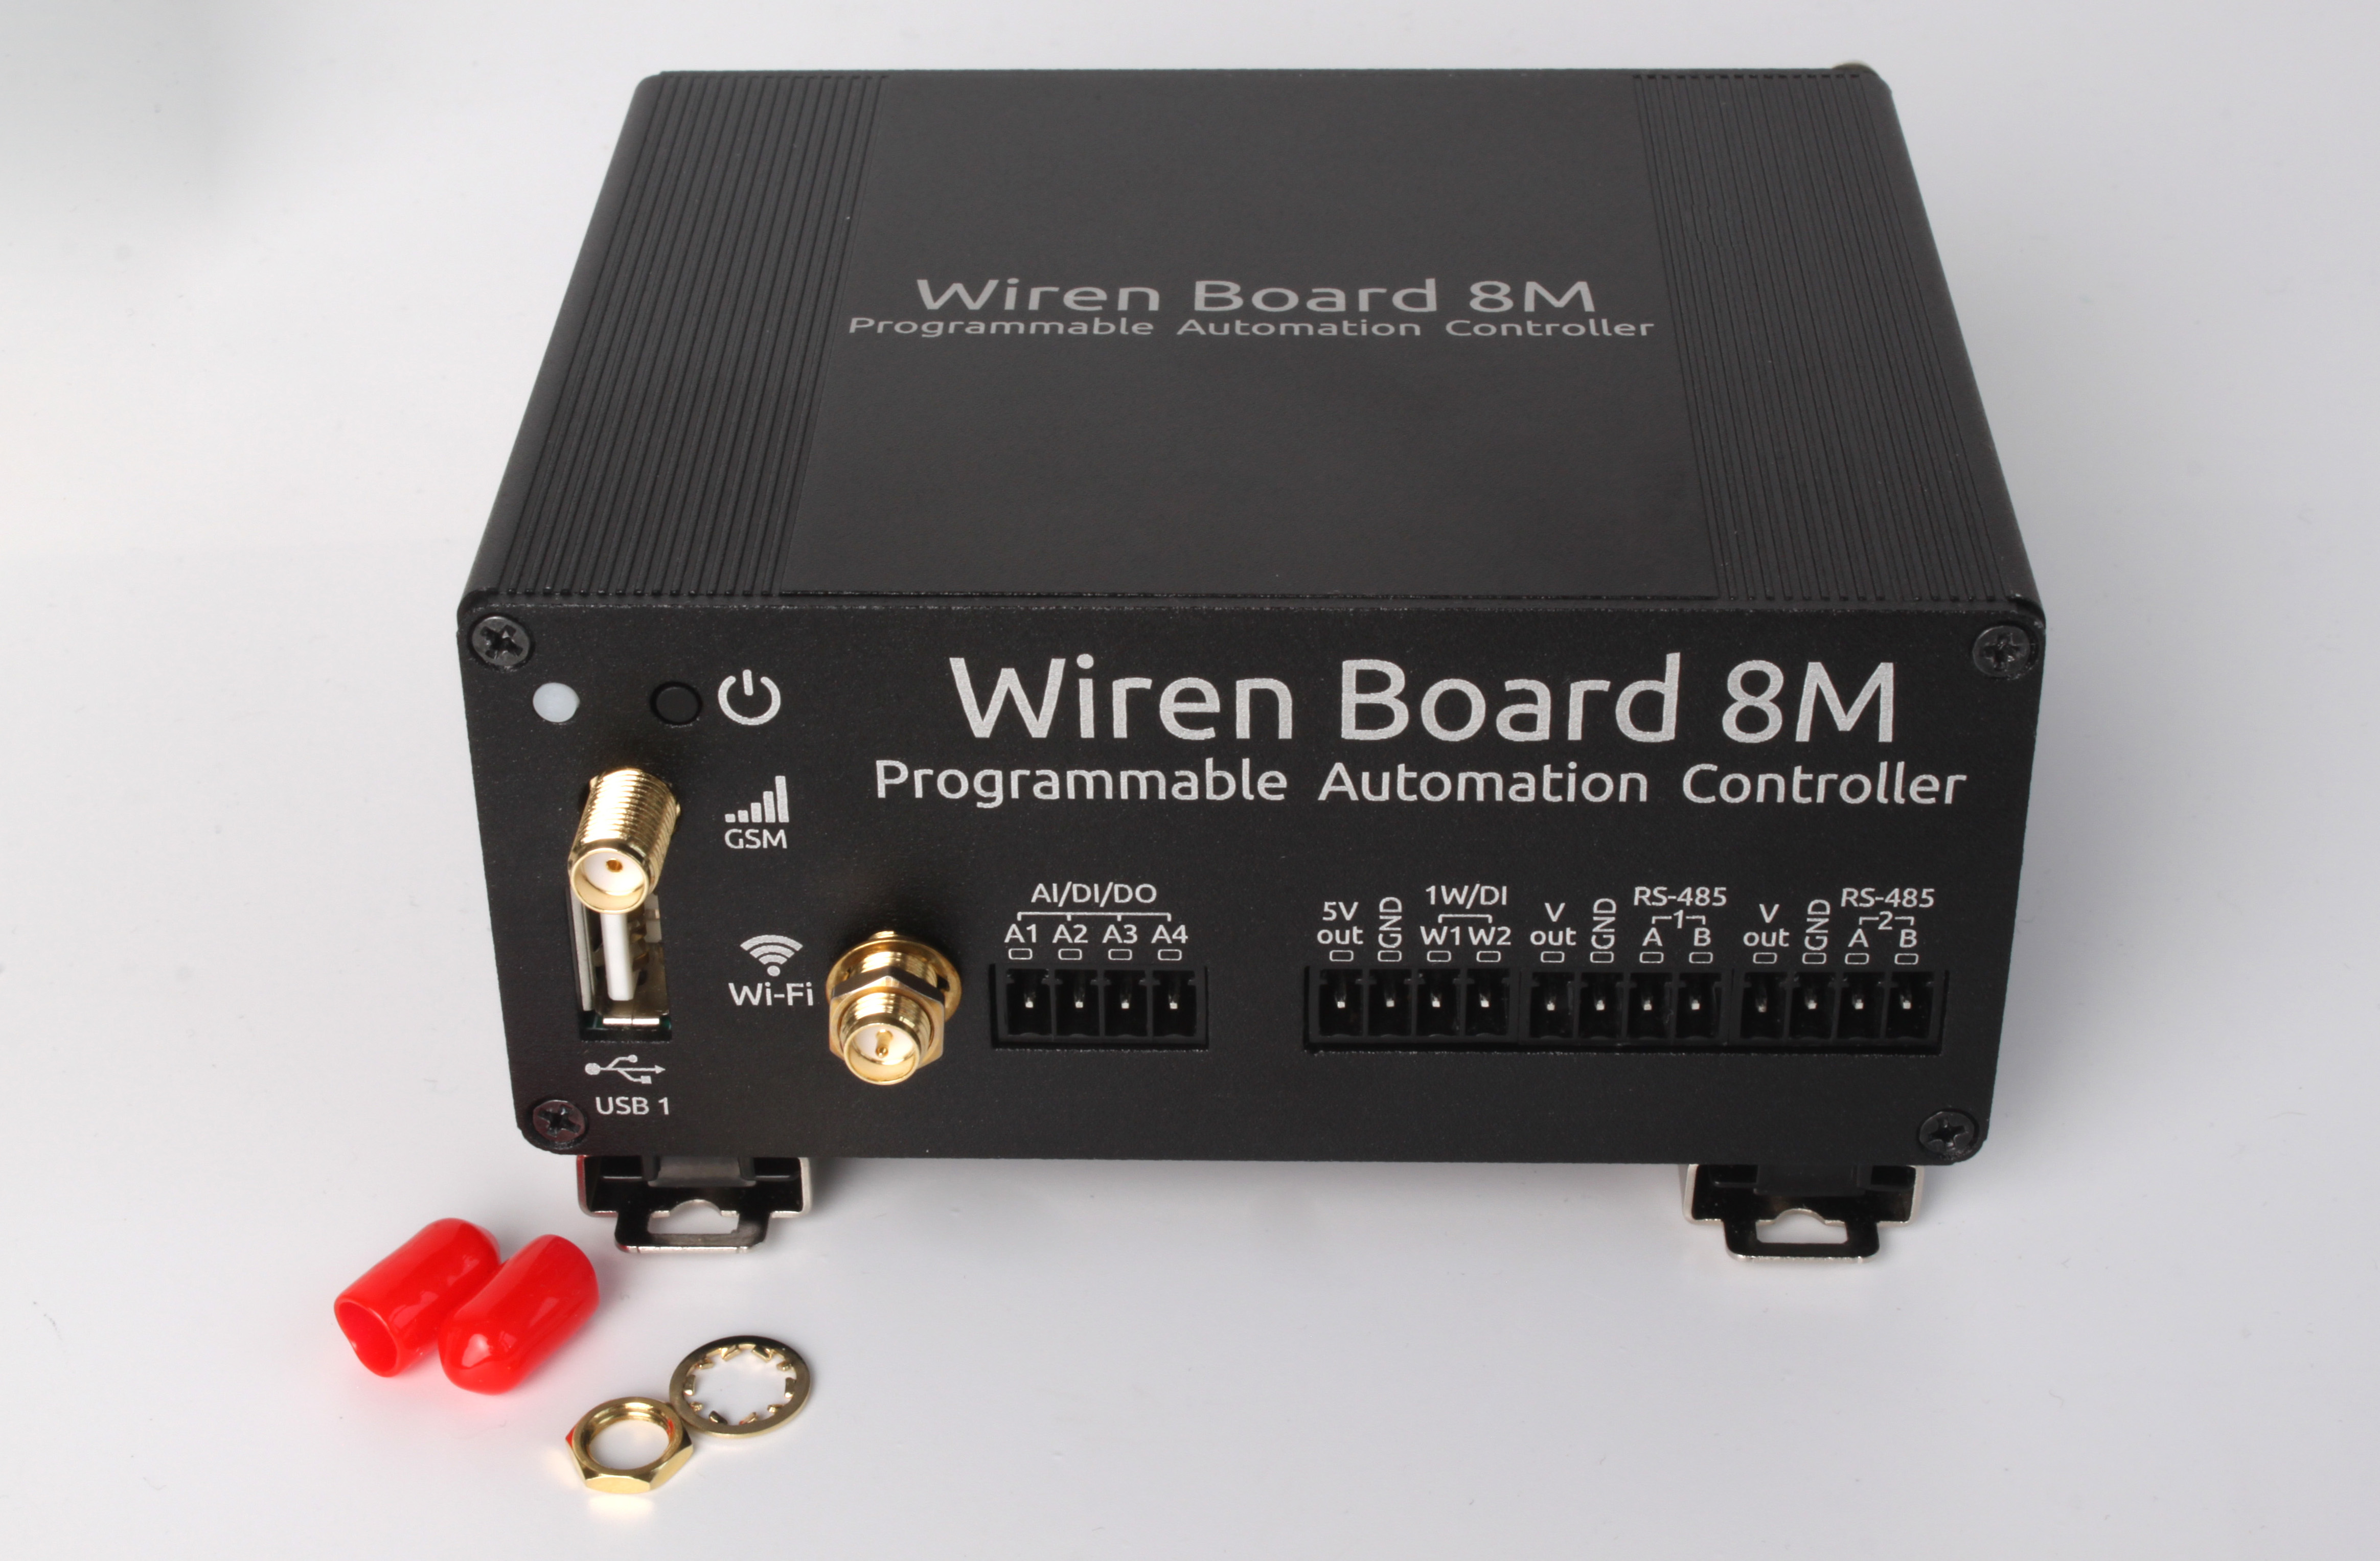
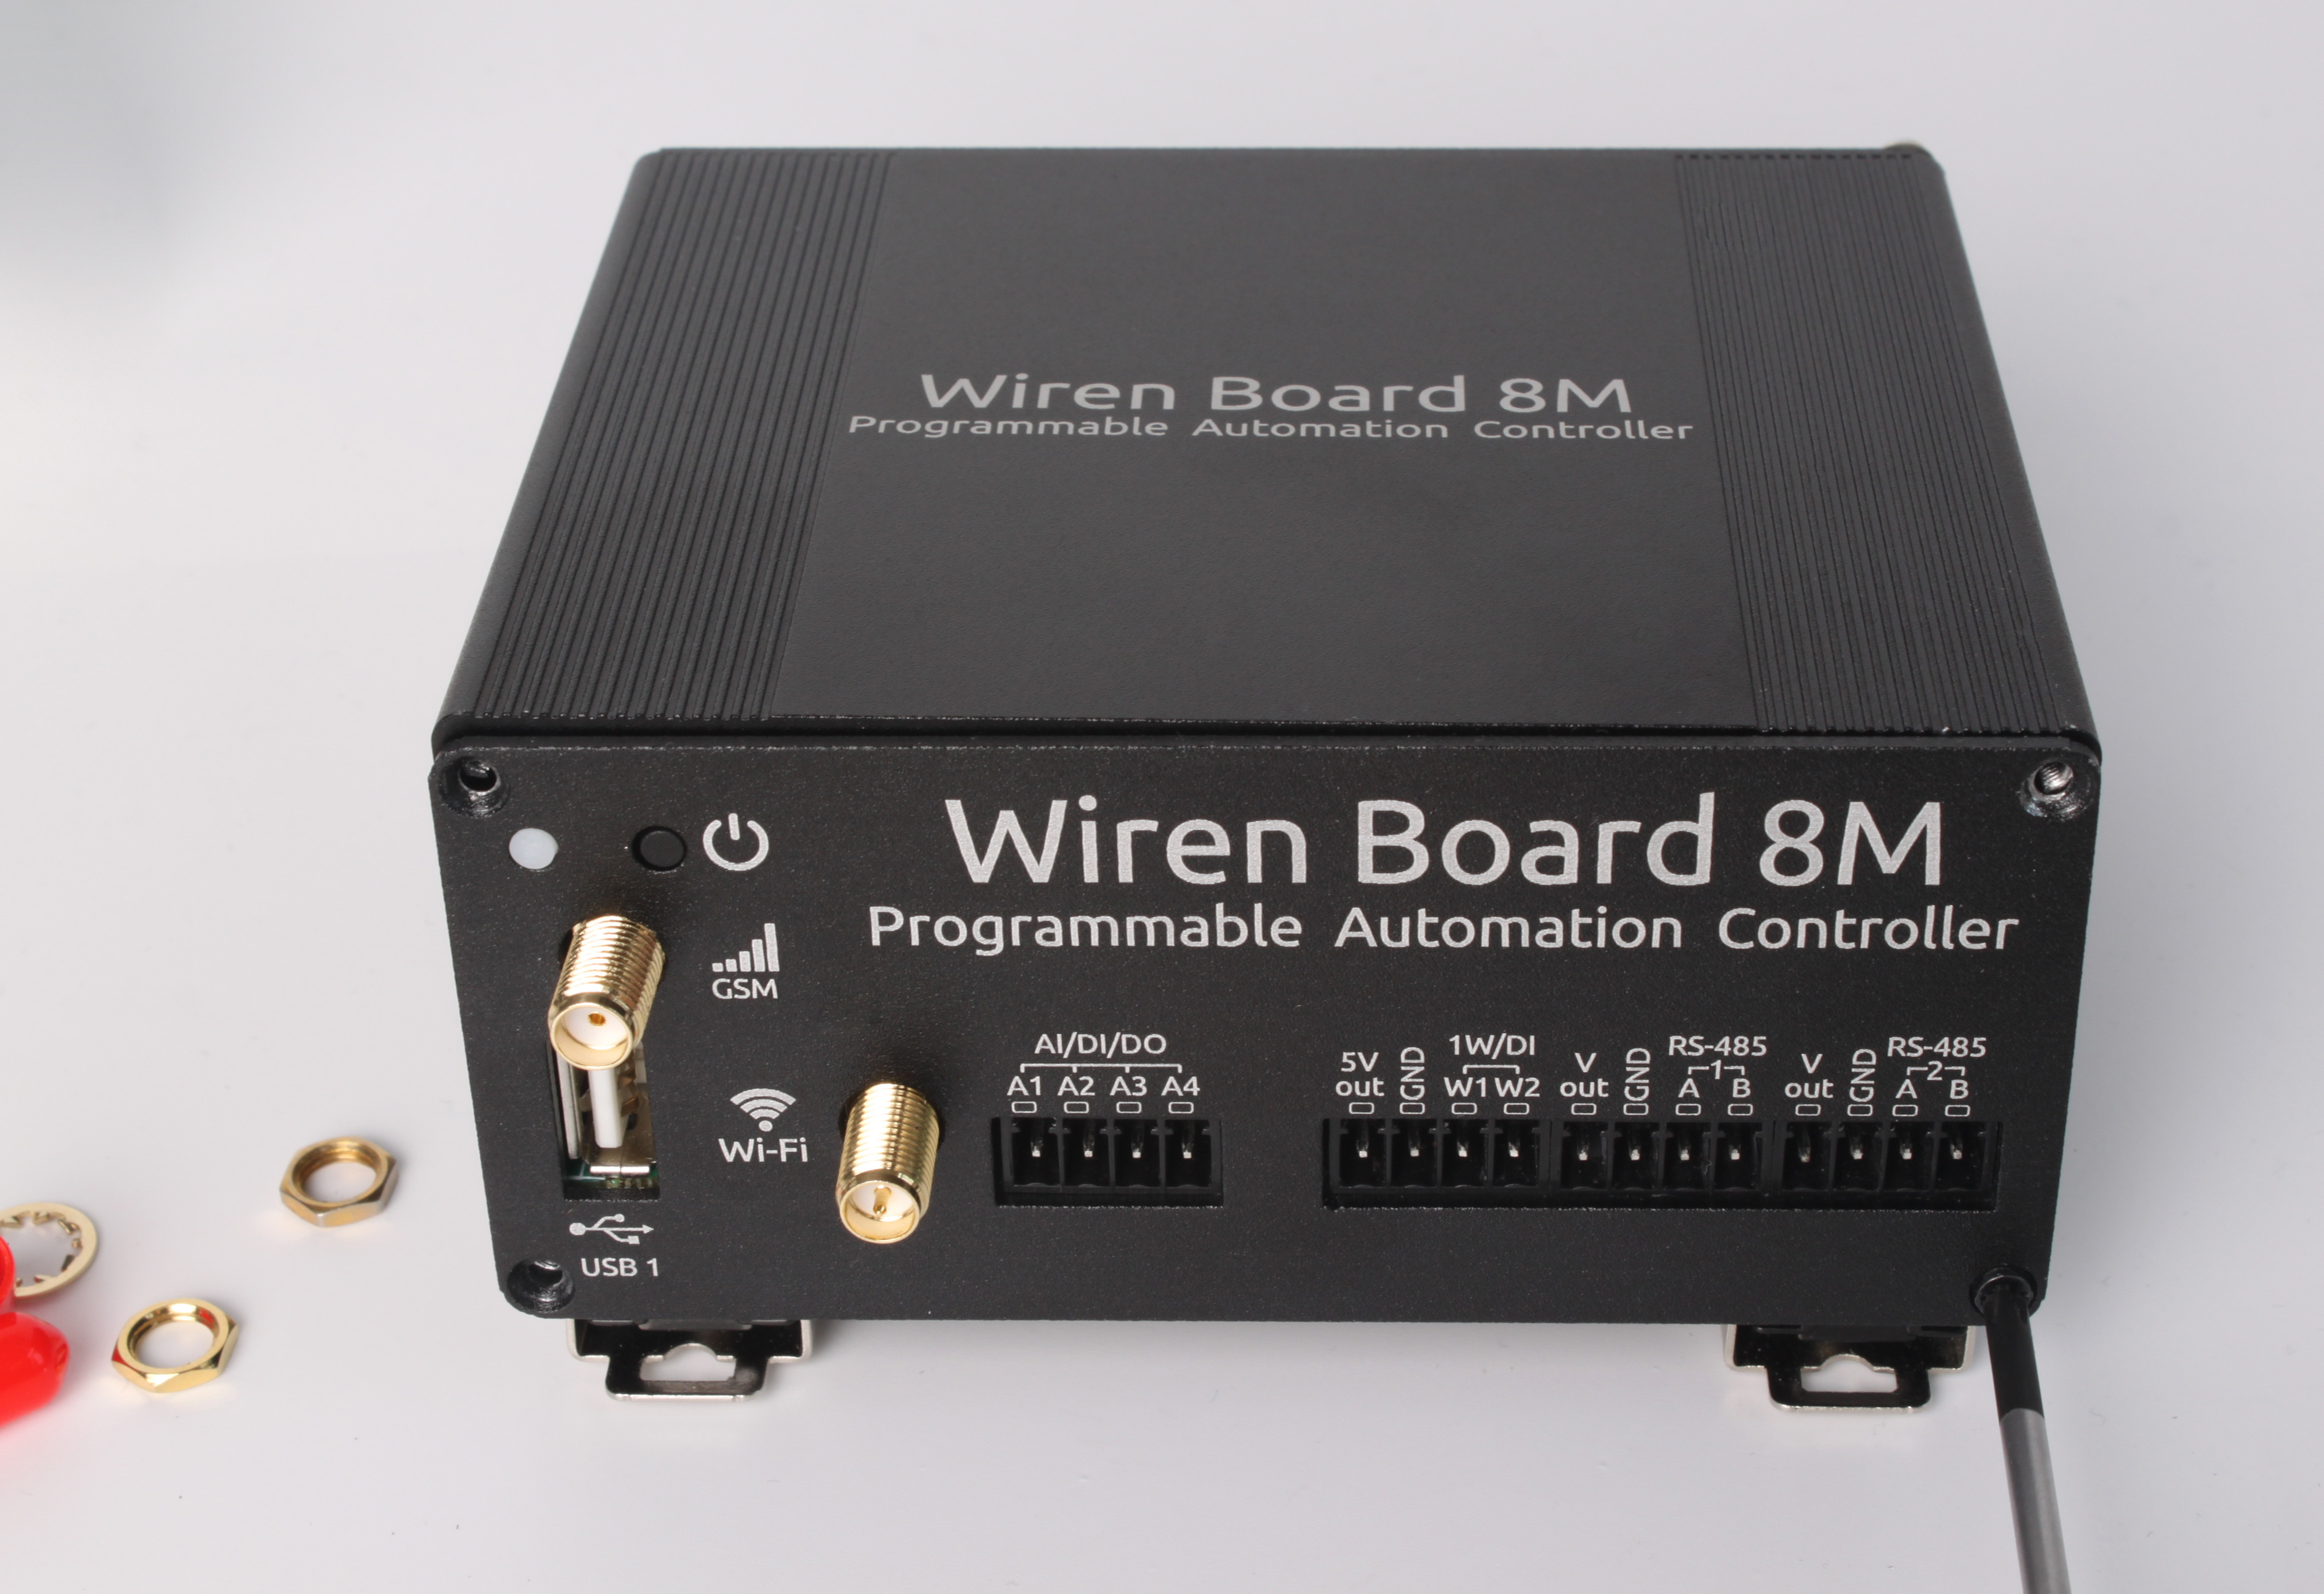
- Use the spanner to undo the Wi-Fi and GSM connector nuts, then remove the terminal blocks.
- Remove four screws with the Phillips screwdriver.
- Remove the front cover.
- Remove the terminal blocks and four screws on the other side.
- Remove the rear cover.
- Remove the top cover, noting its orientation relative to the enclosure.
- Slide the PCB along the internal guides and out of the enclosure.
Reassembly
Reassemble in reverse order. Pay attention to the controller power button: it may need a slight adjustment when fitting the front cover.